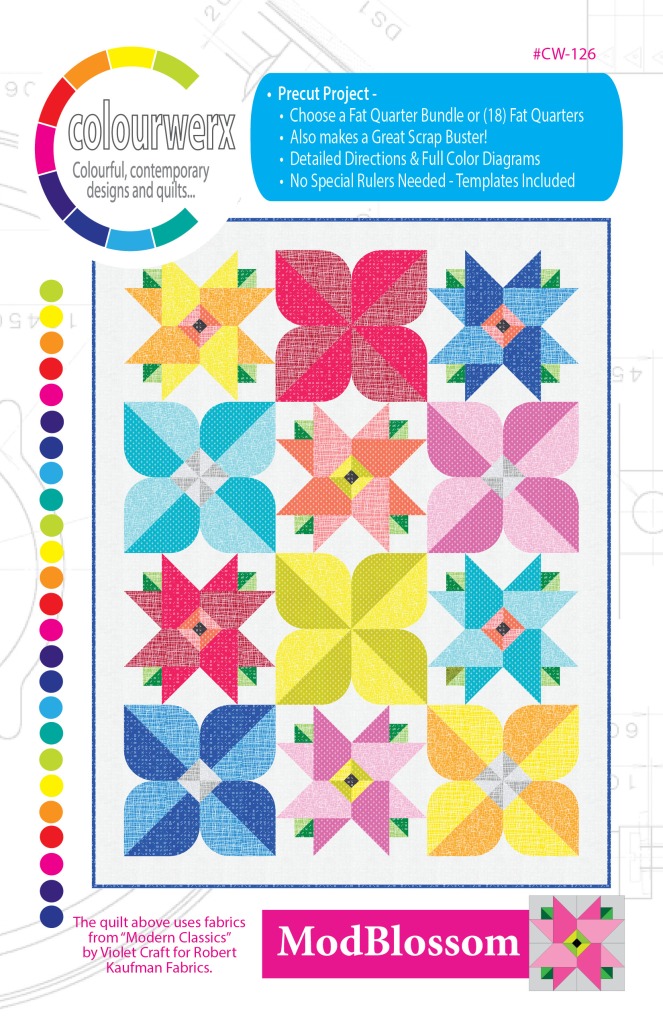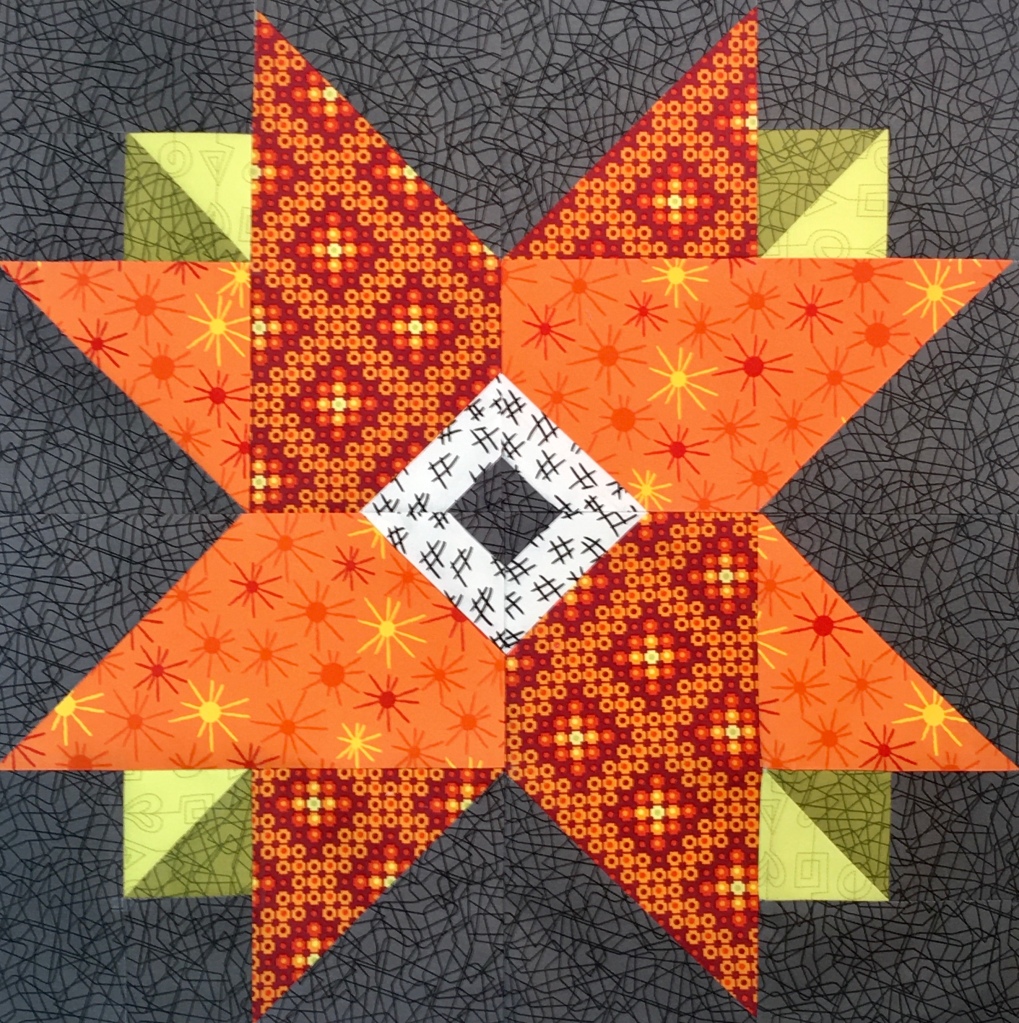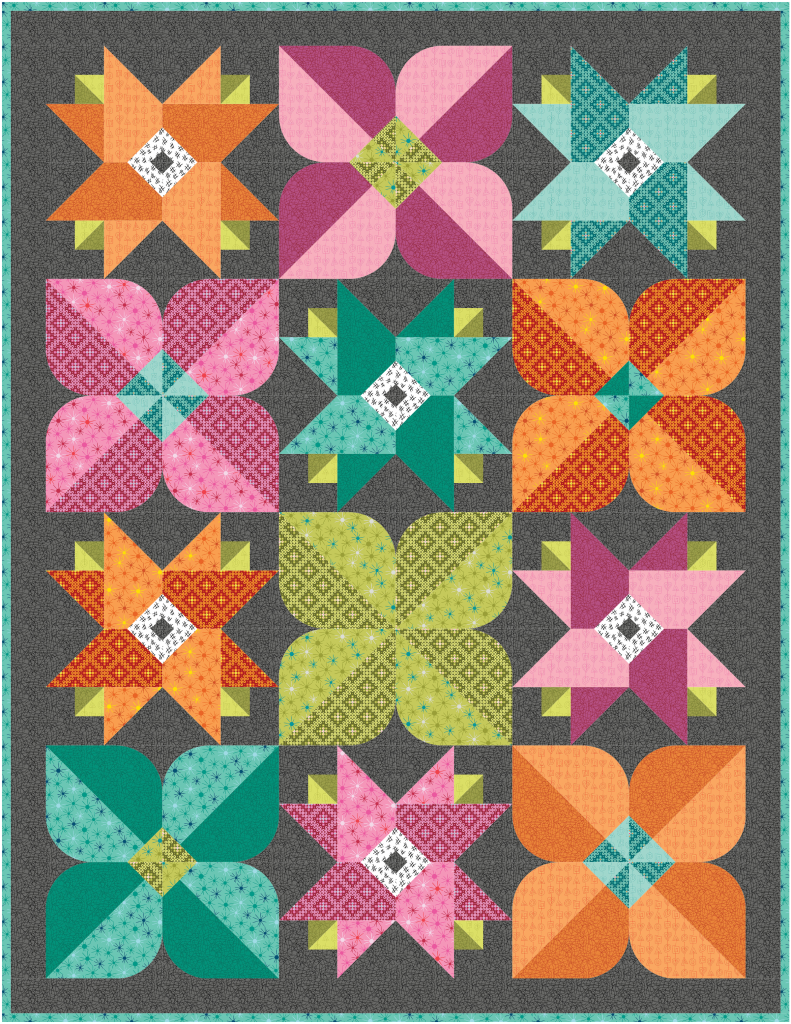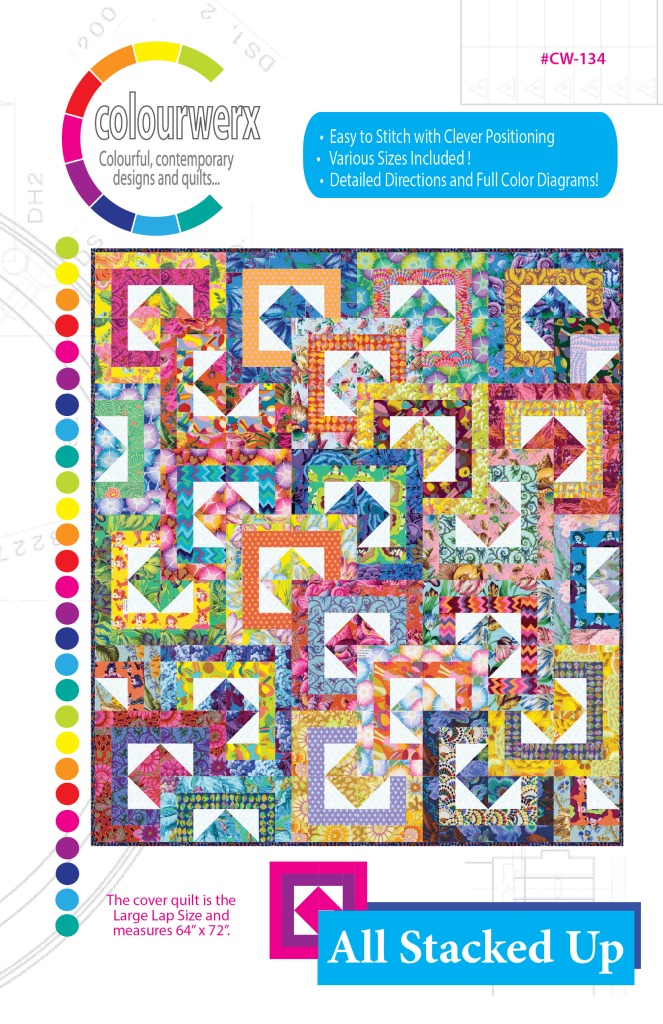
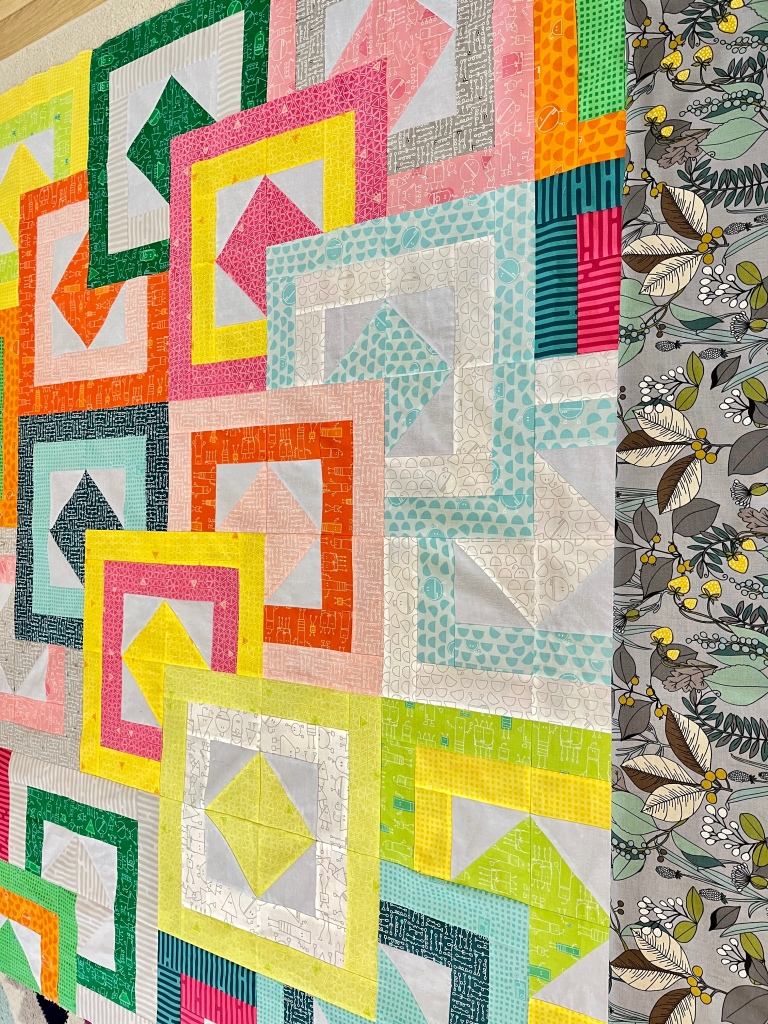
My first quarter project as a Benartex Ambassador was oh so much fun to create! It’s a familiar quilt pattern in our Colourwerx catalogue of patterns called ‘All Stacked Up’. The beauty of this ‘looks complicated but it’s not’ pattern design is that it’s oh-so-easy to piece and it looks great in almost any fabric collection out there.
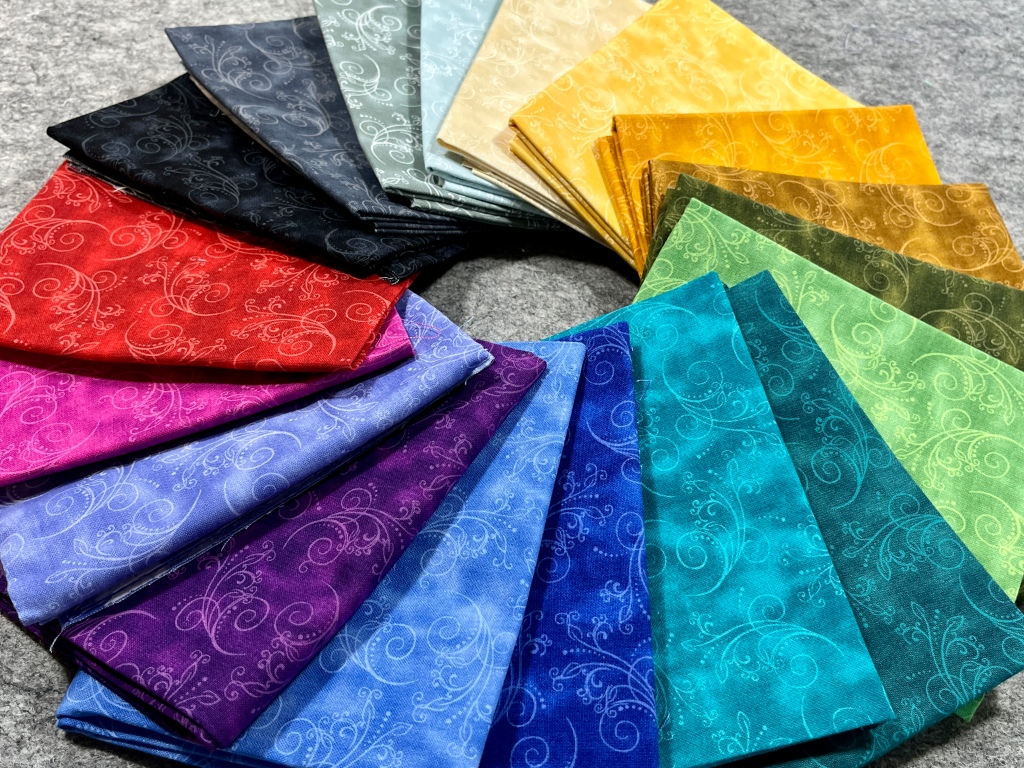
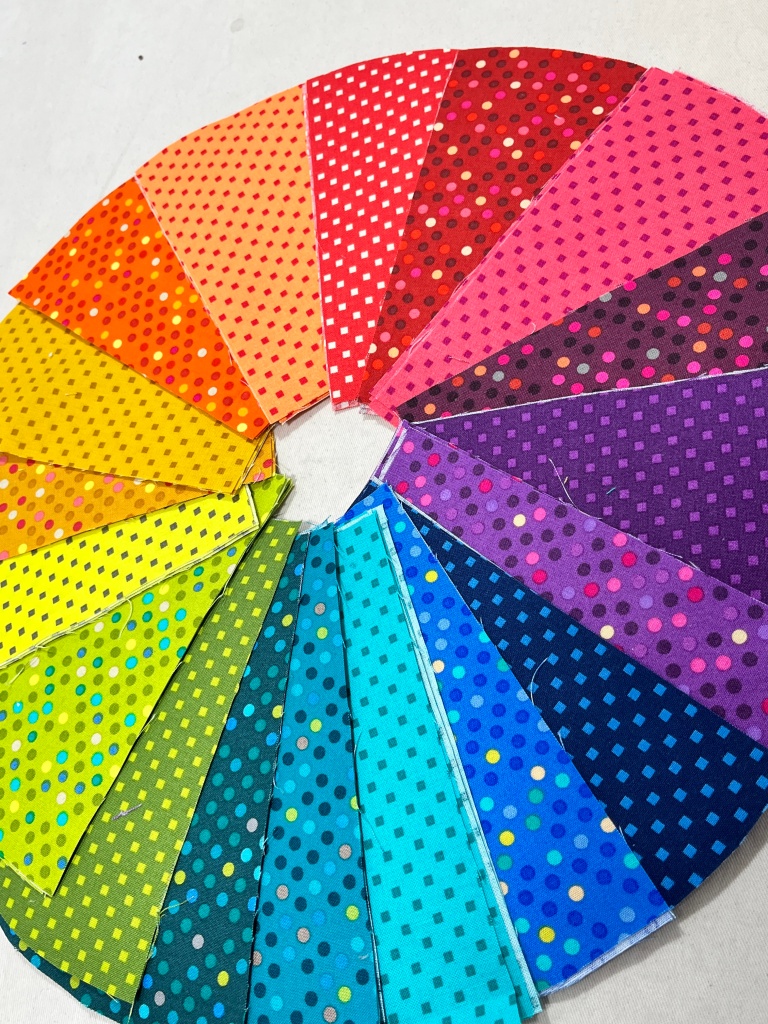
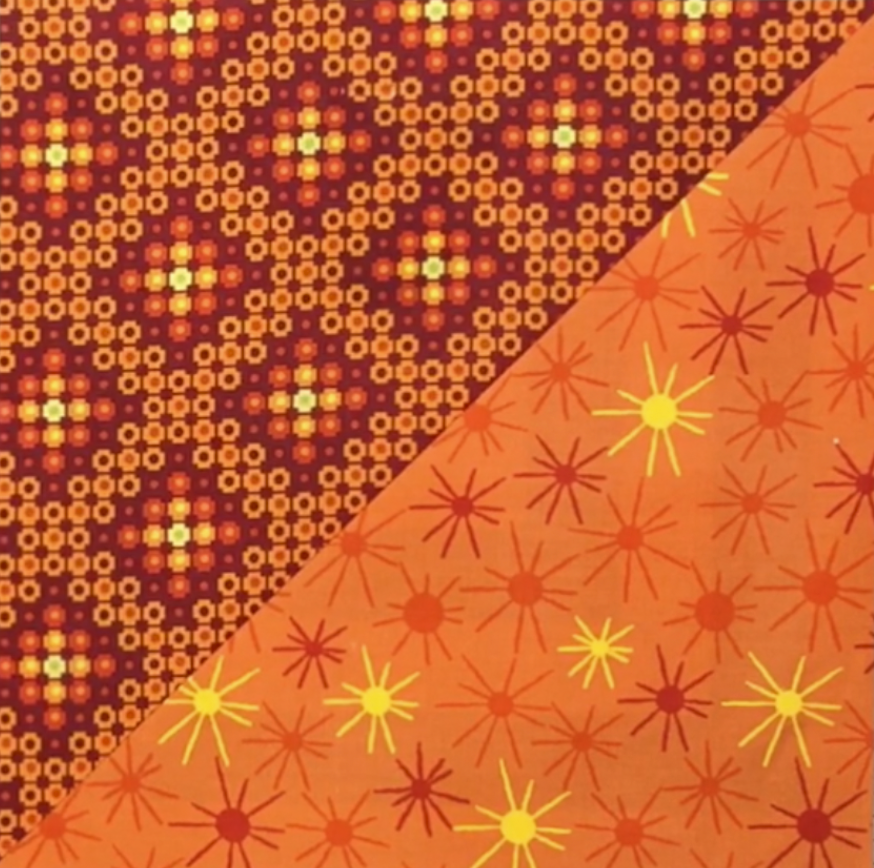
For the fabric I chose a new collection that is super sweet and cute called ‘Robo Boogie’ designed by Irene Staal from Sugaridoo Designs. This new collection from Irene is super cute – the colors are fresh and modern and the designs range from playful robots, widgets, digits and all things that look like computer code. They’re geometric elements; tiny squares, dancing half circles and quirky triangles. Irene’s love for color and her background as a robotics engineer, merge perfectly together in this fabric line.
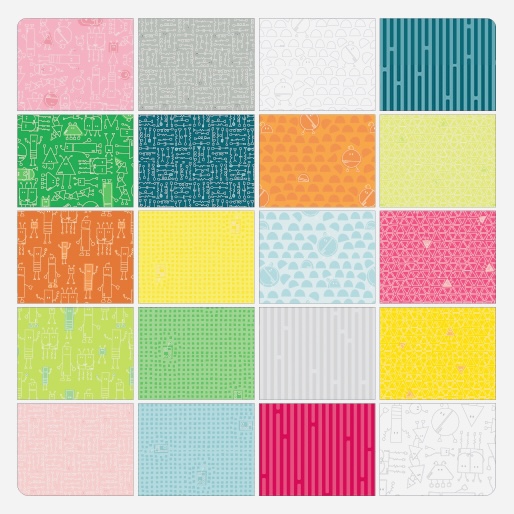
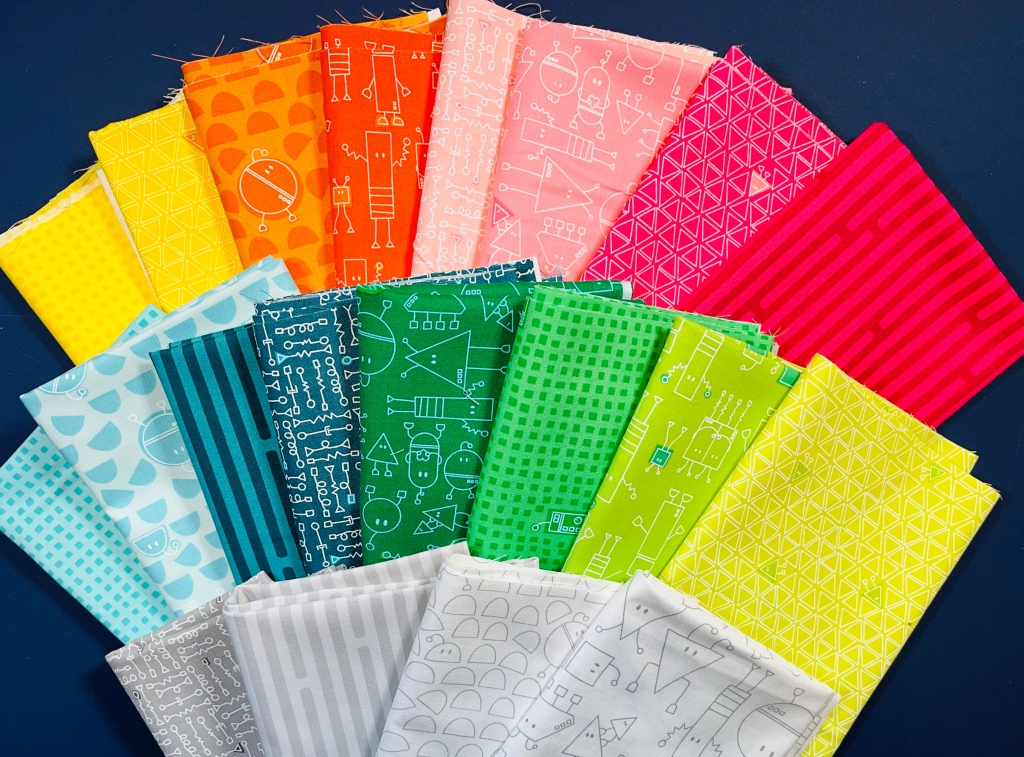
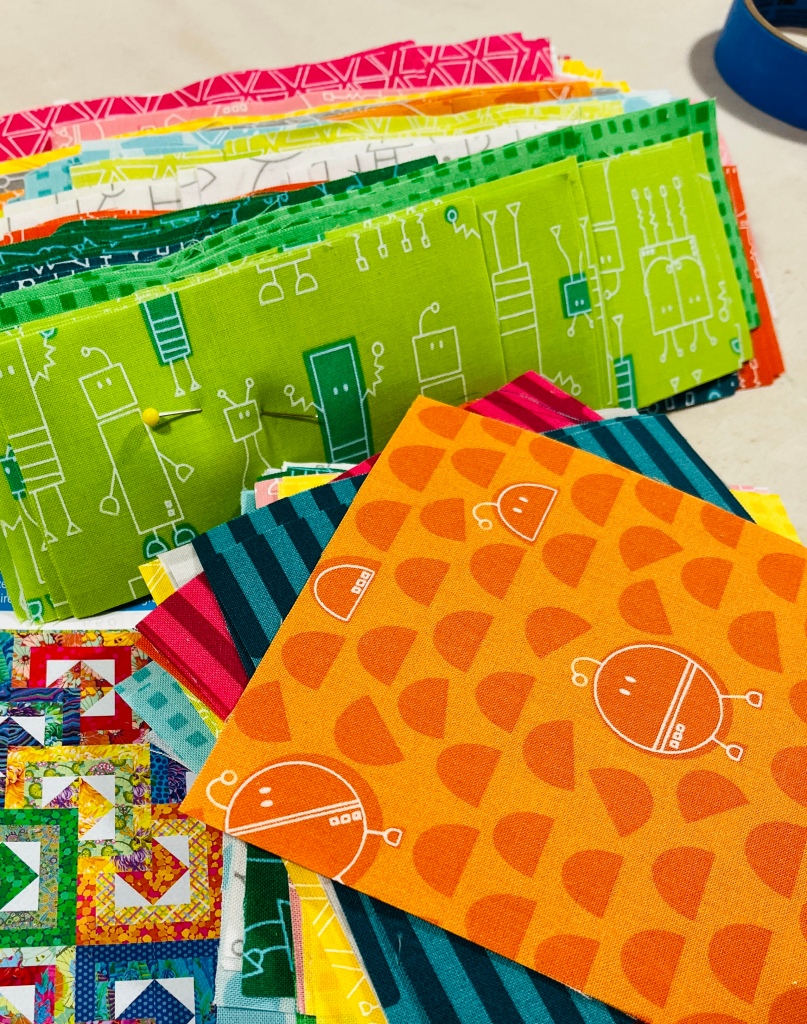
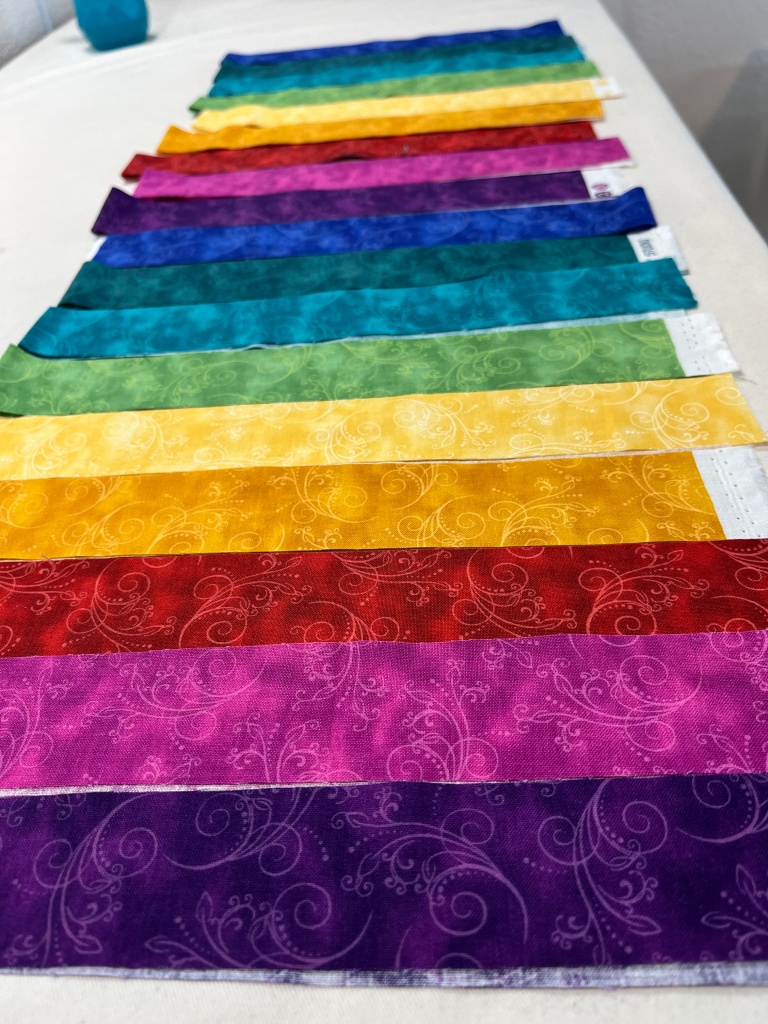
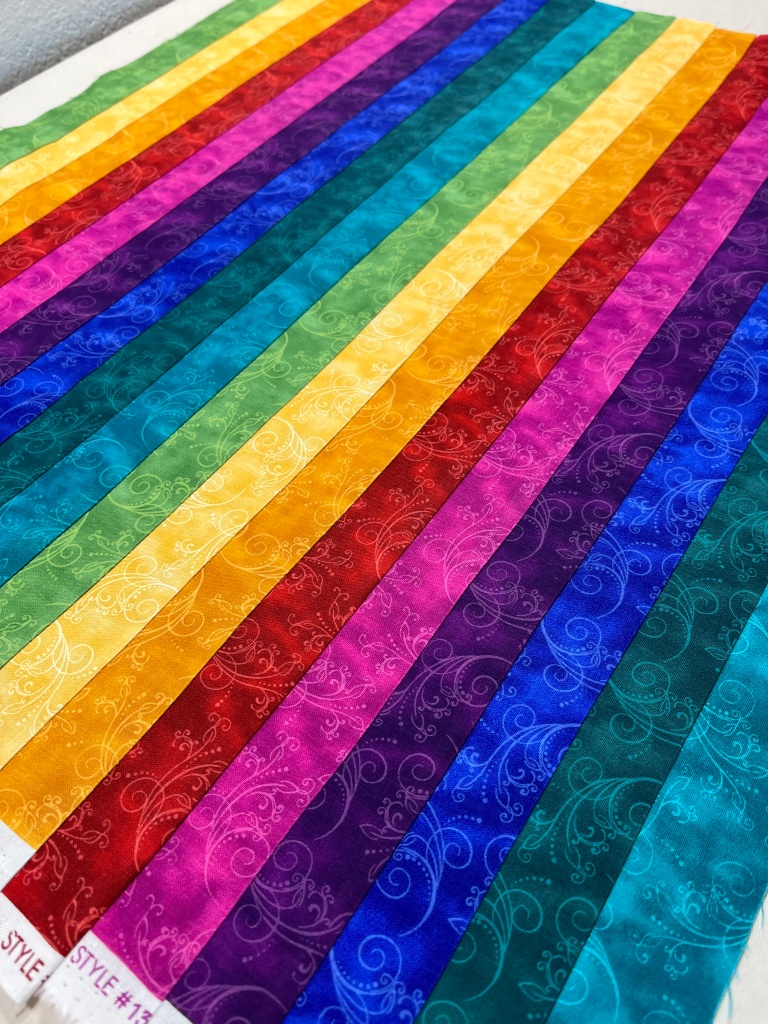
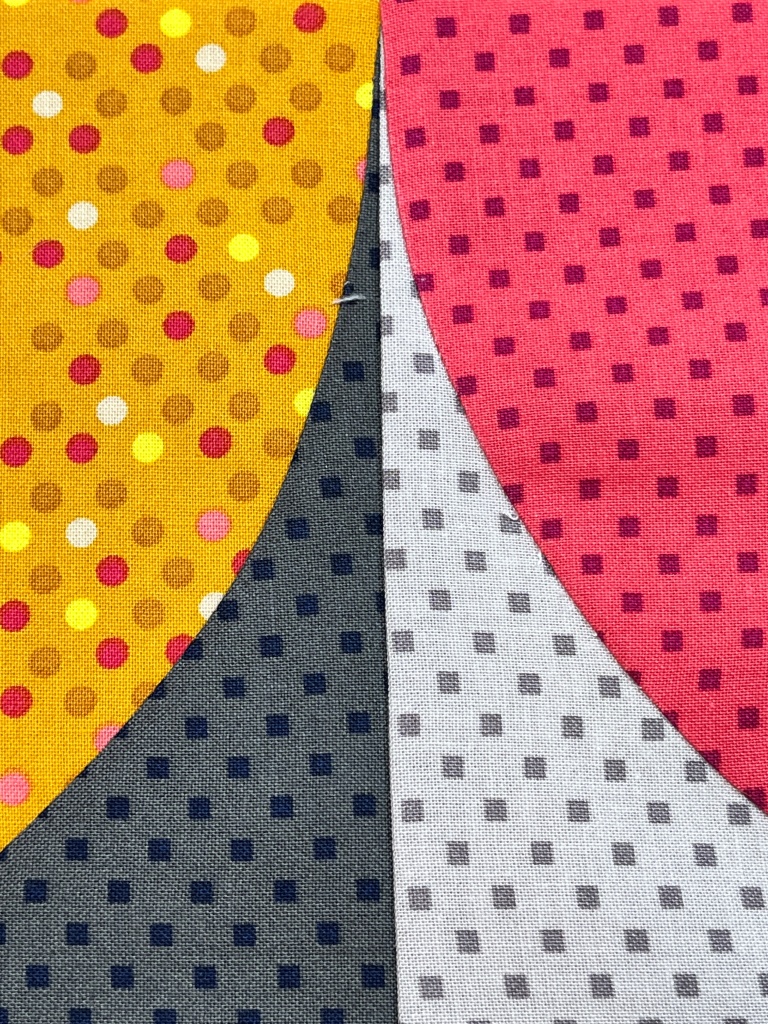
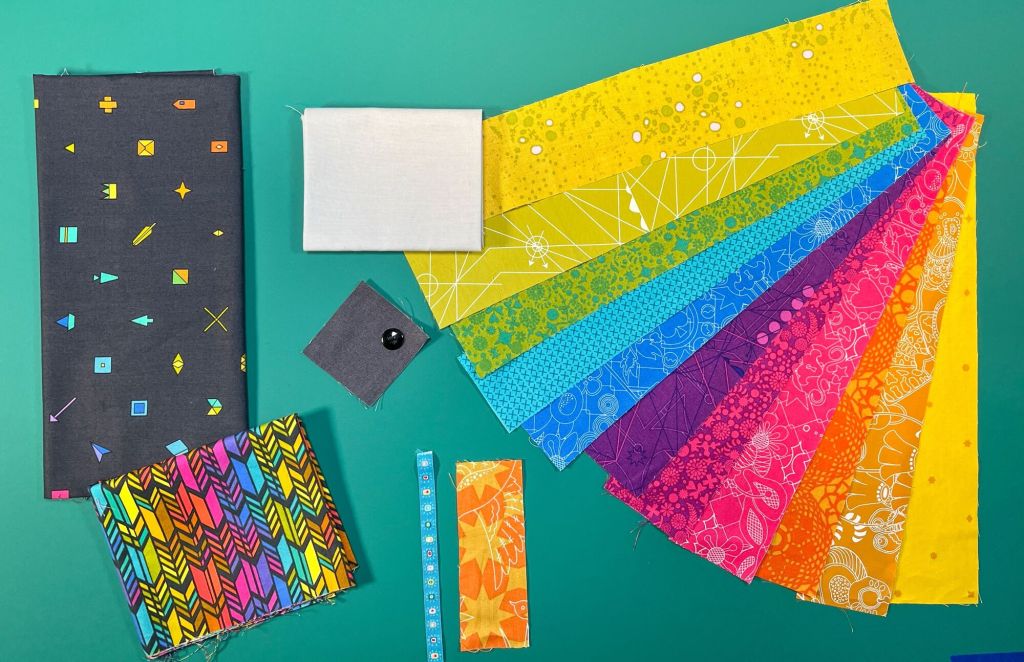
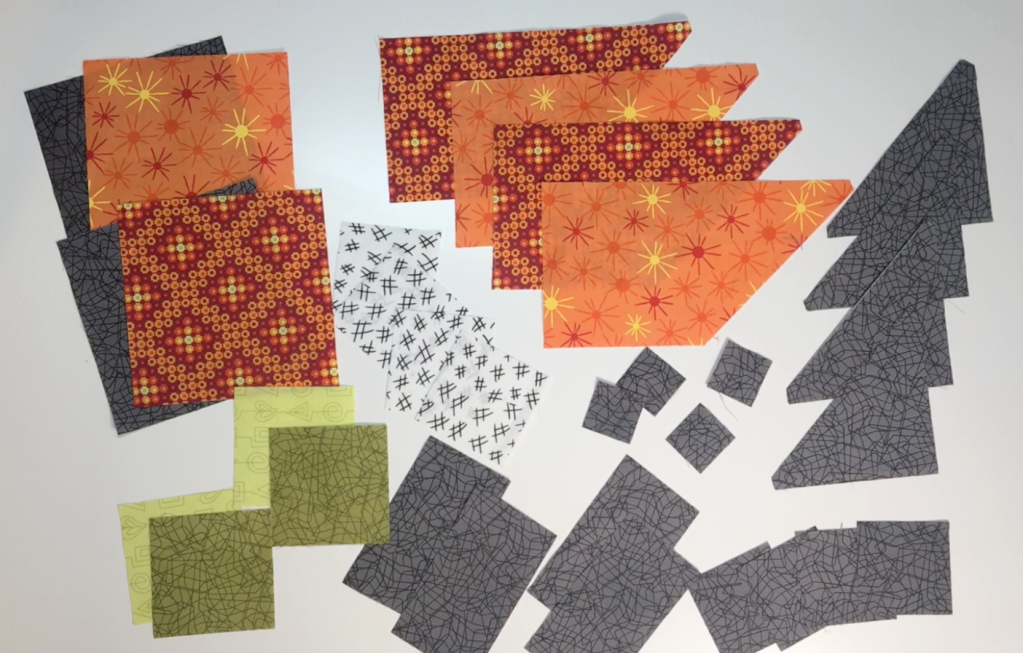
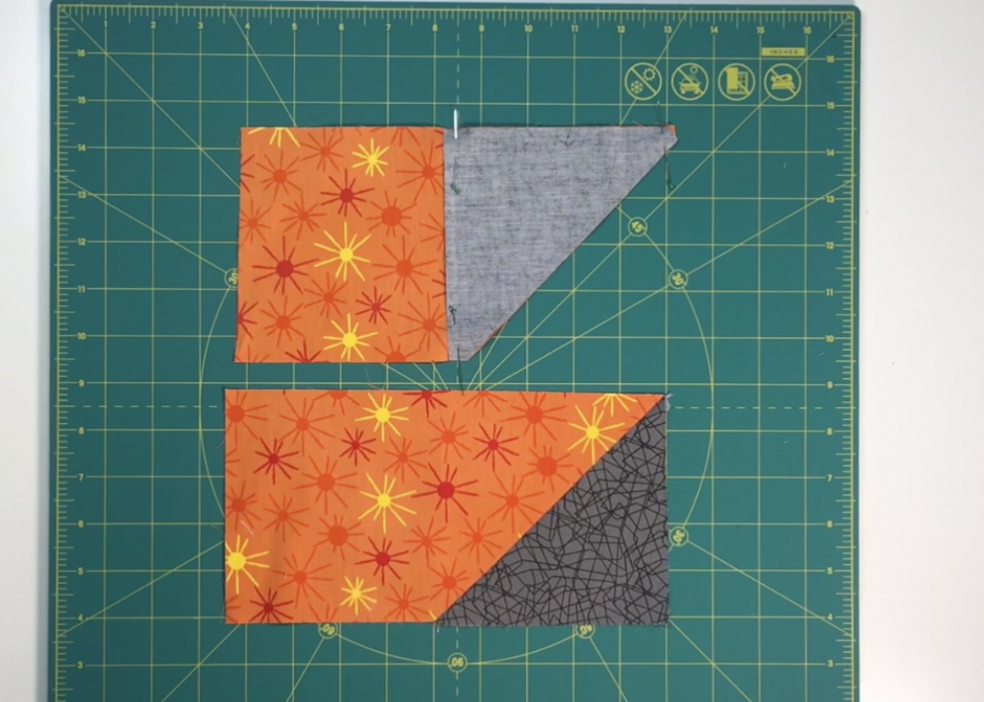
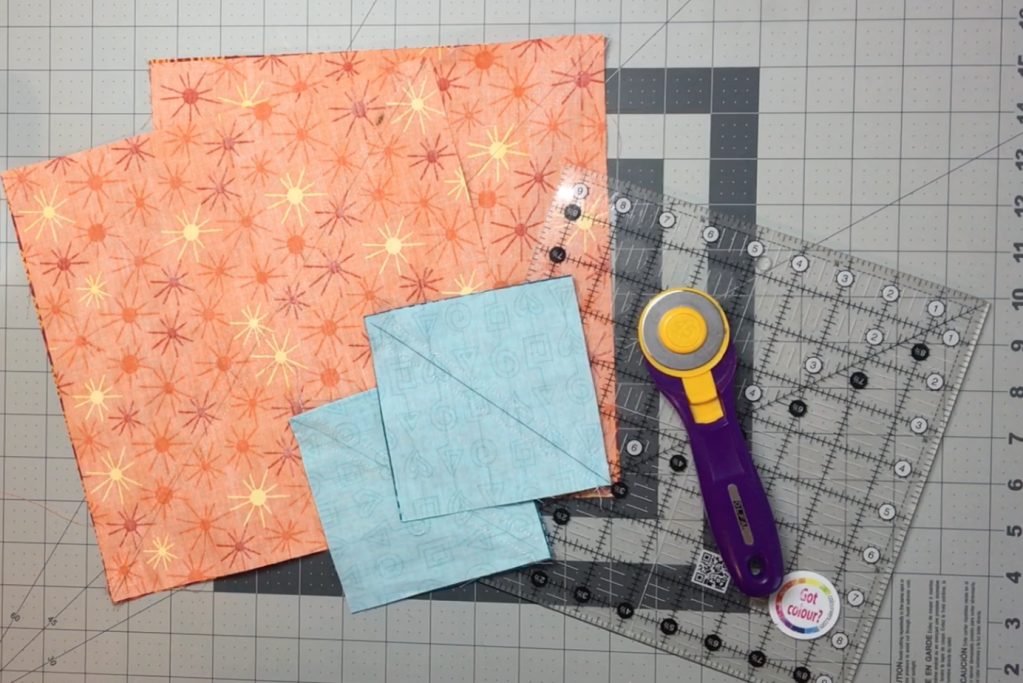
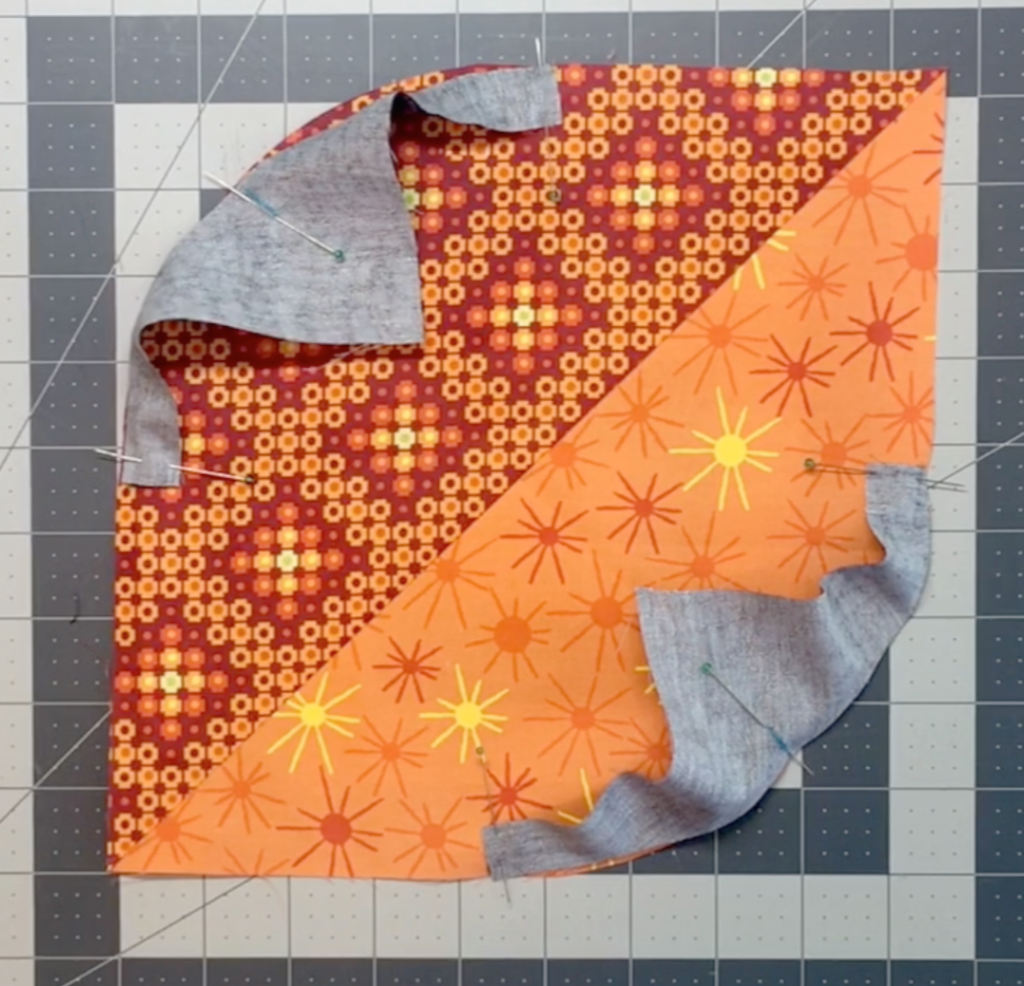
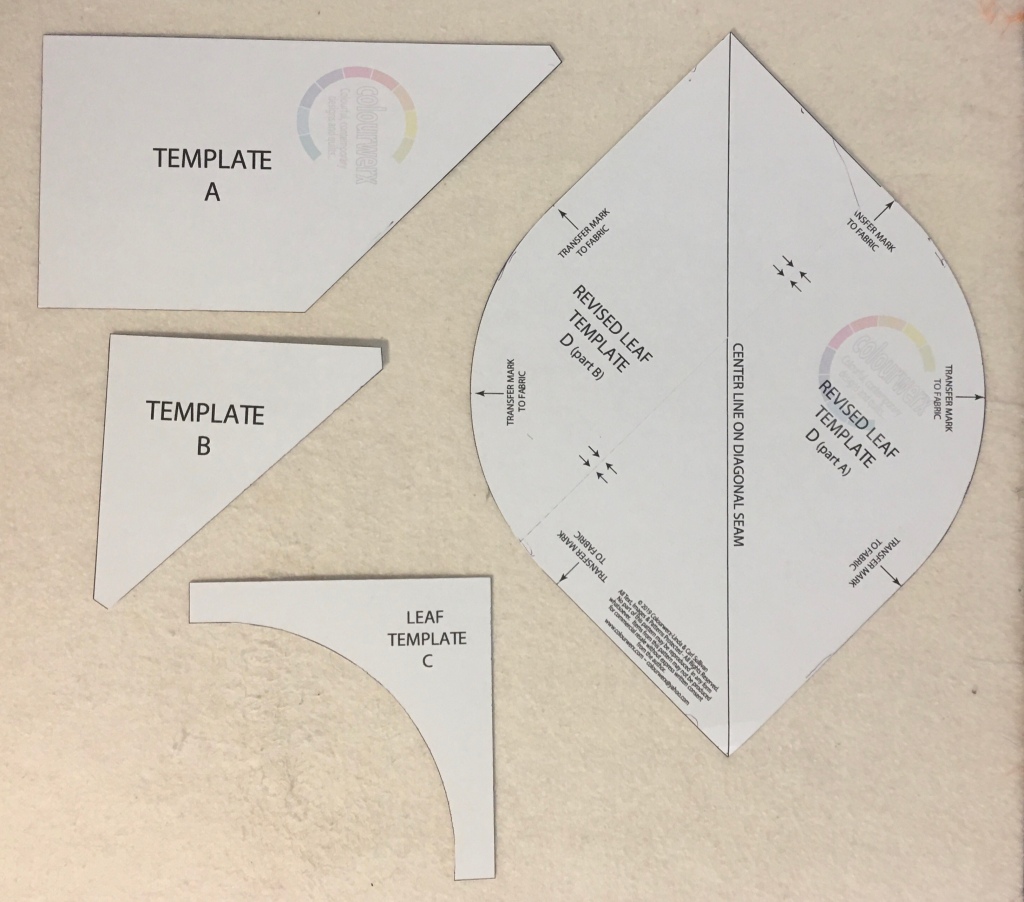
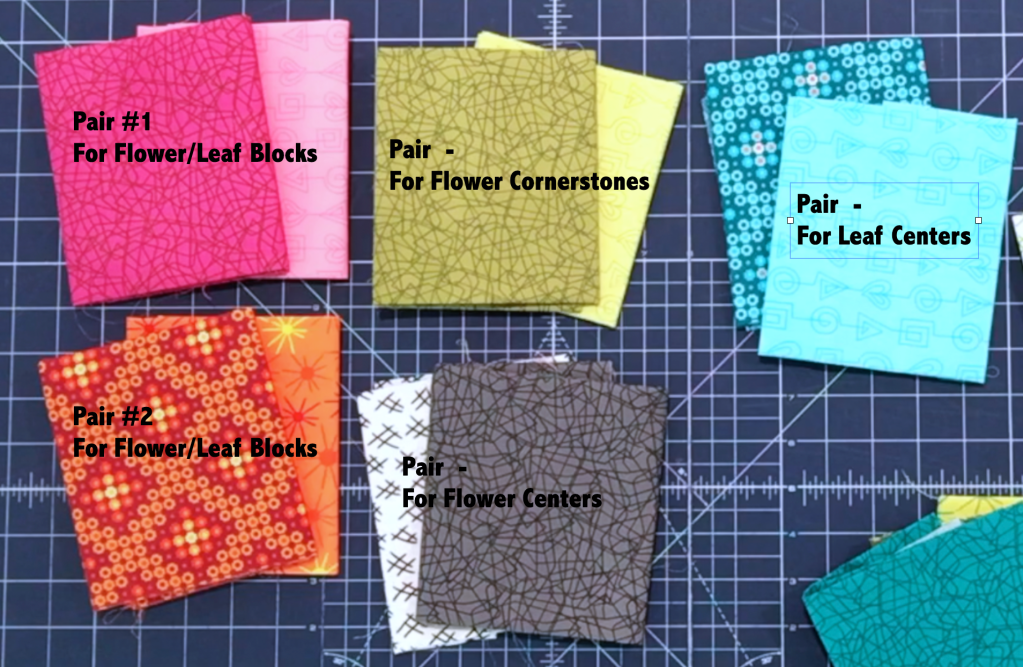
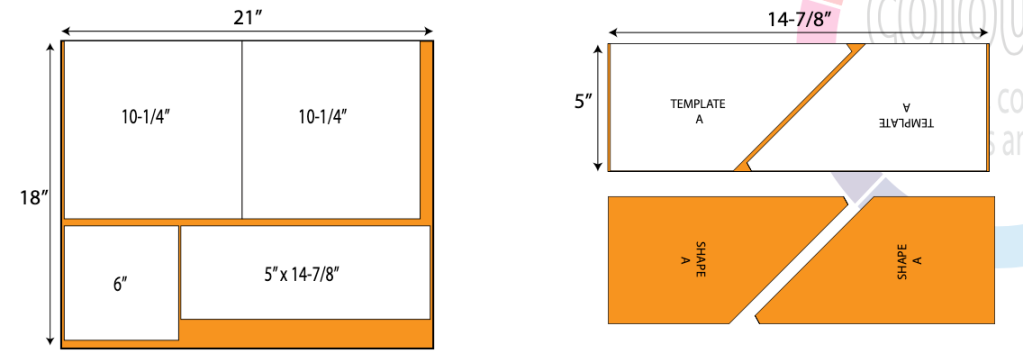
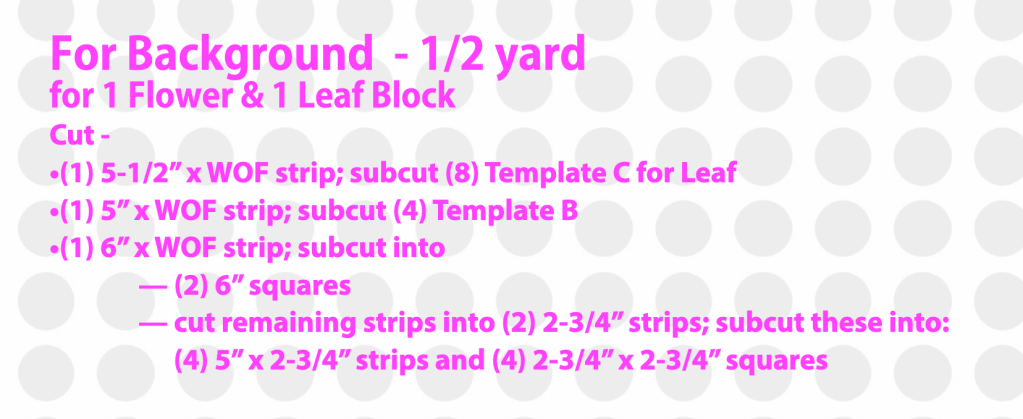
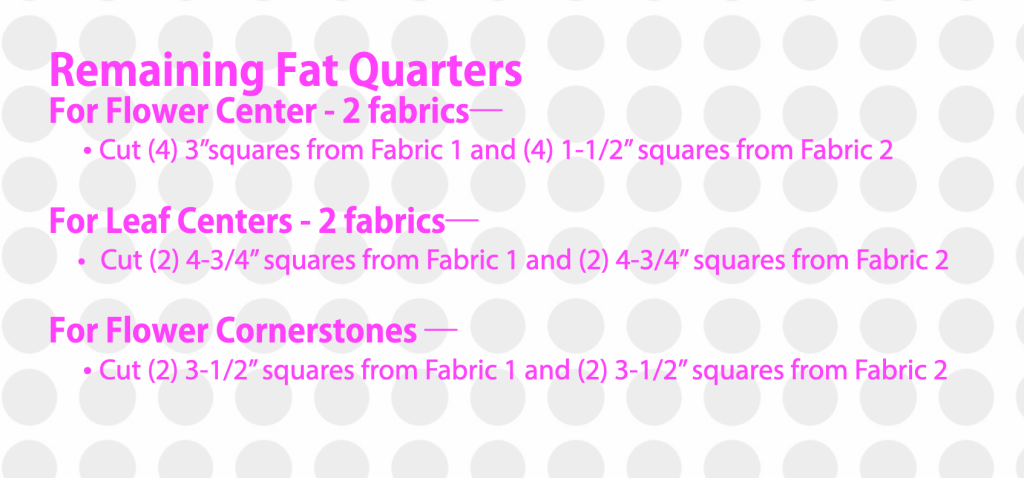
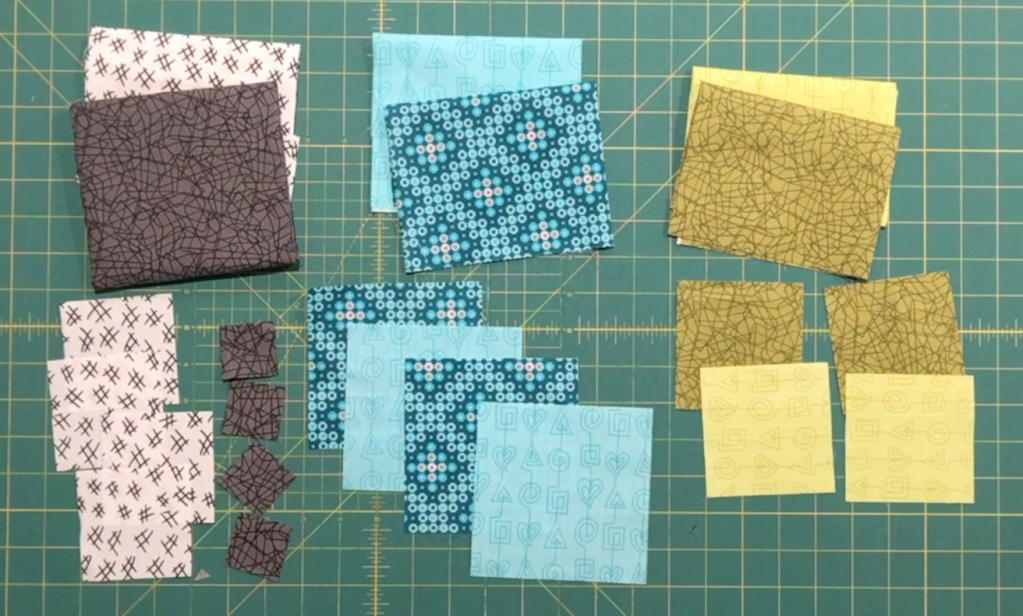
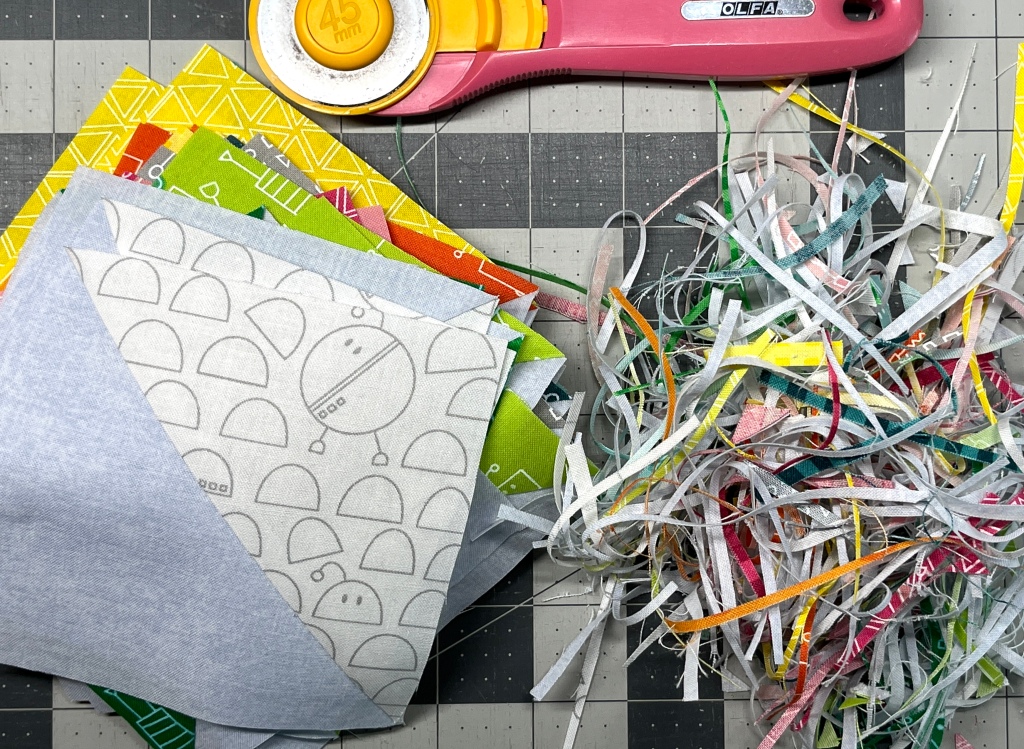
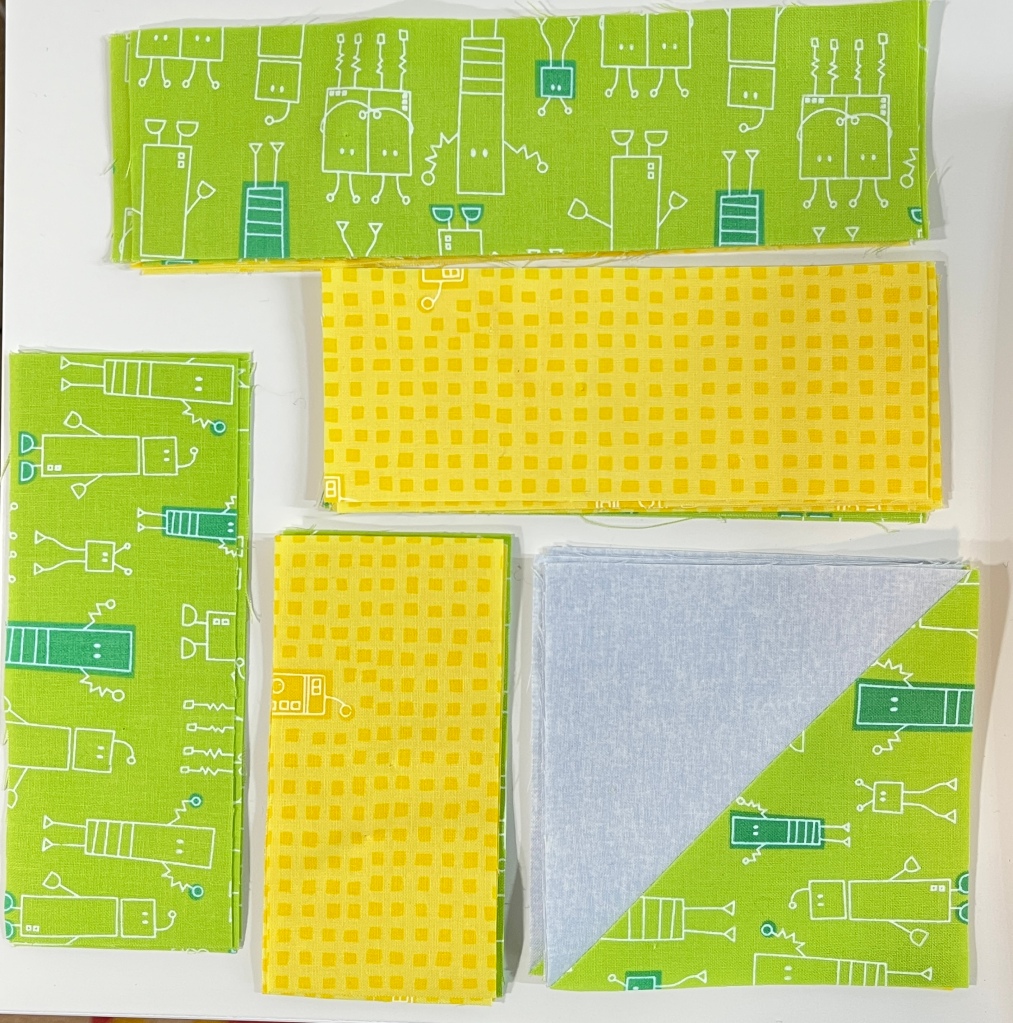
I started with (1) Fat Quarter bundle of ‘Robo Boogie” and a light gray background fabric from Benartex Fabrics’ Basics line called Chalk Basics. After cutting all of the fabrics according to my ‘All Stacked Up’ pattern instructions, I paired fabrics together to make the blocks. Looks at the super cute designs on the fabrics and the fresh happy colour palette!
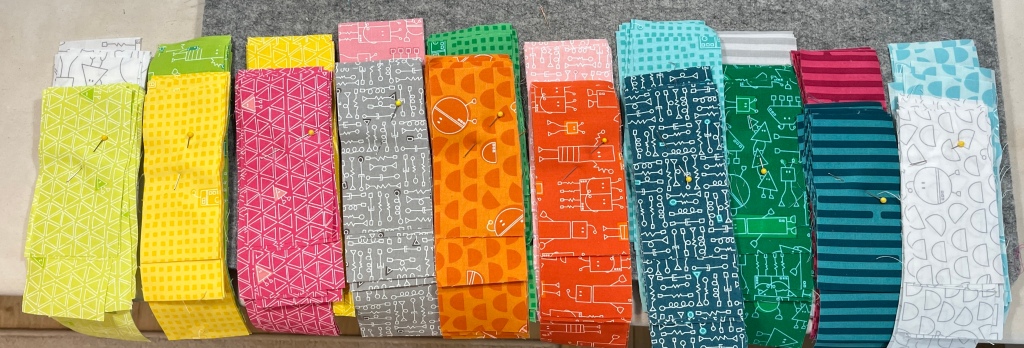
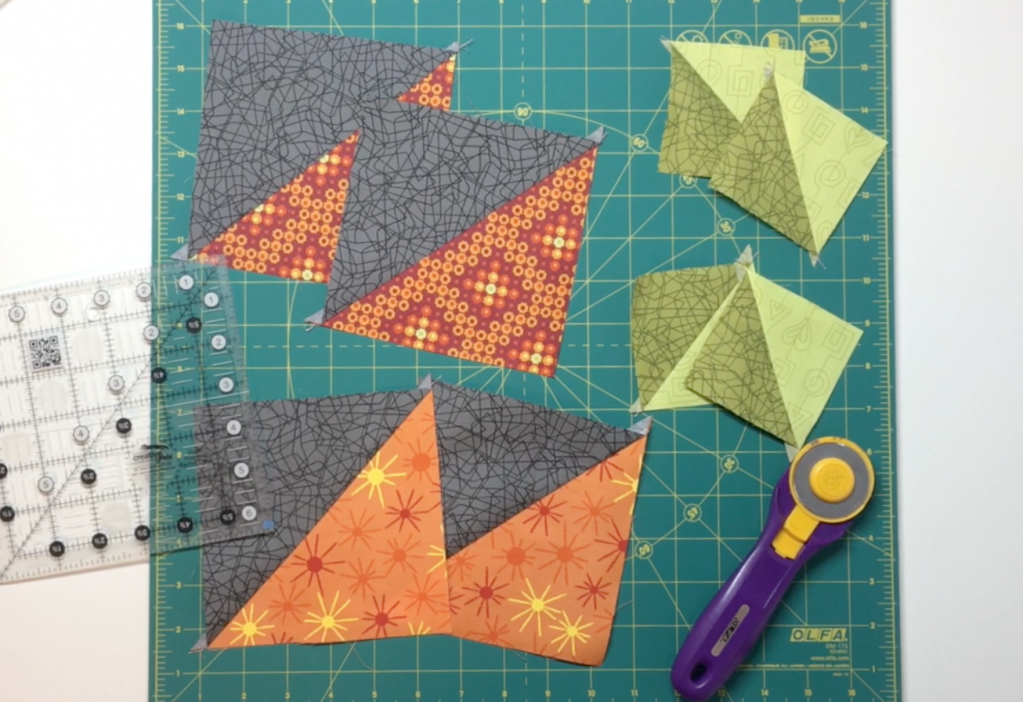
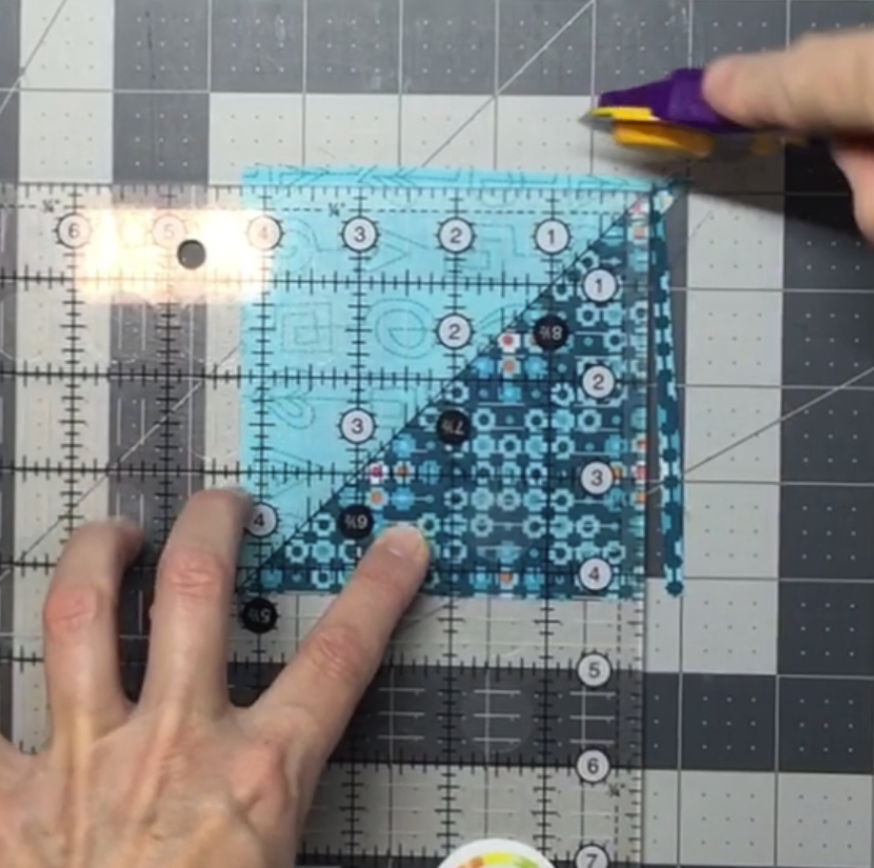
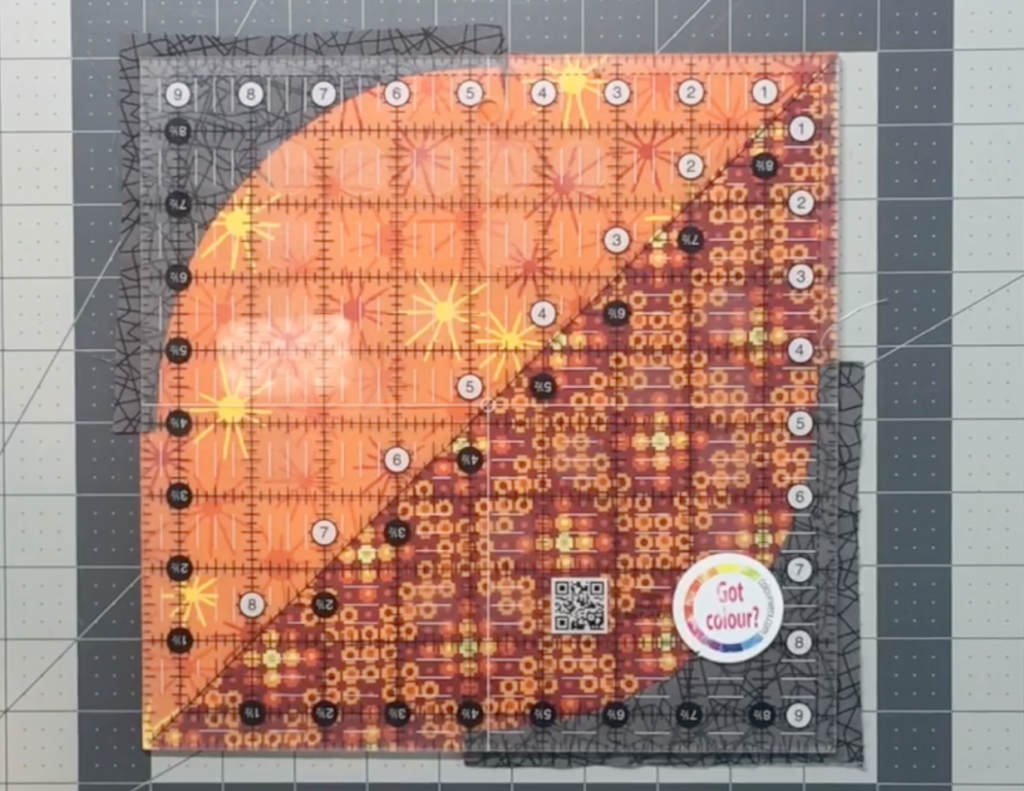
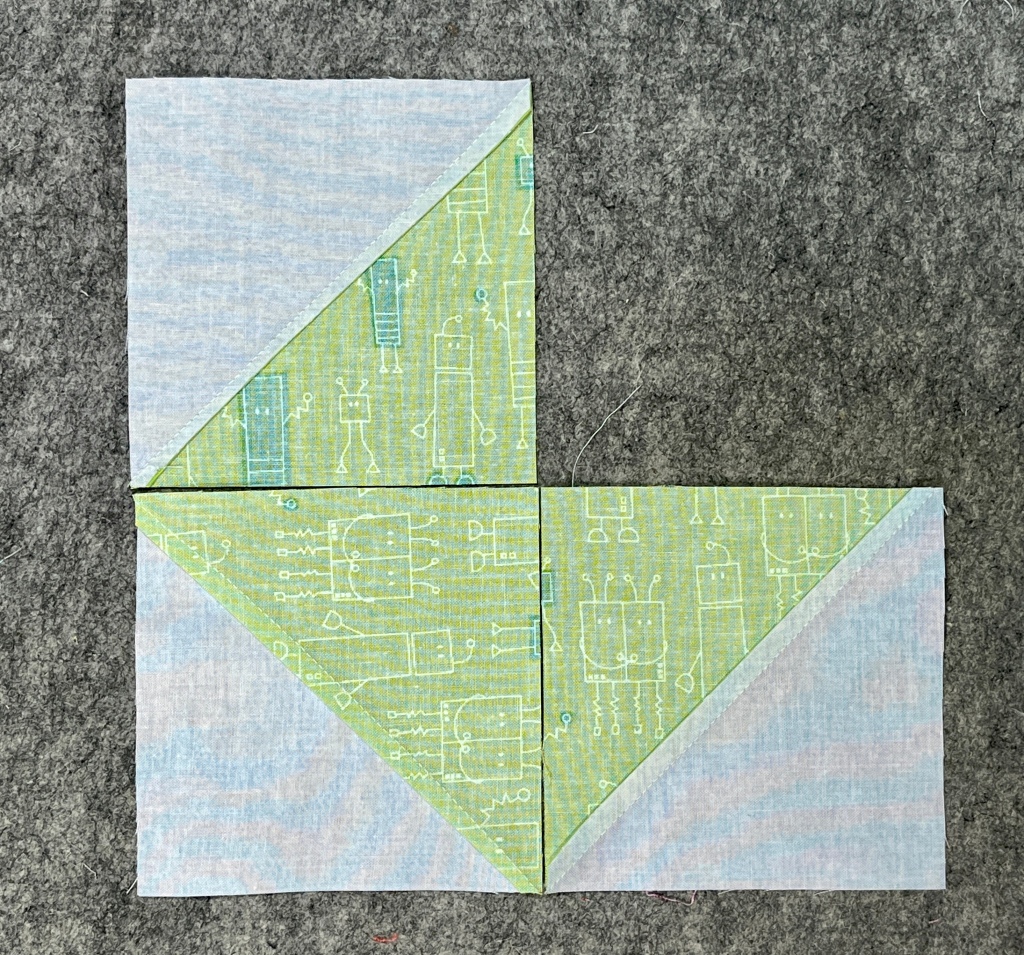
Then I made Half Square Triangles for the day. I love this type of familiar repetitive stitching and trimming as I can relax and plan out other projects that would be fun to make! Lots of stitching and lots of trimming!
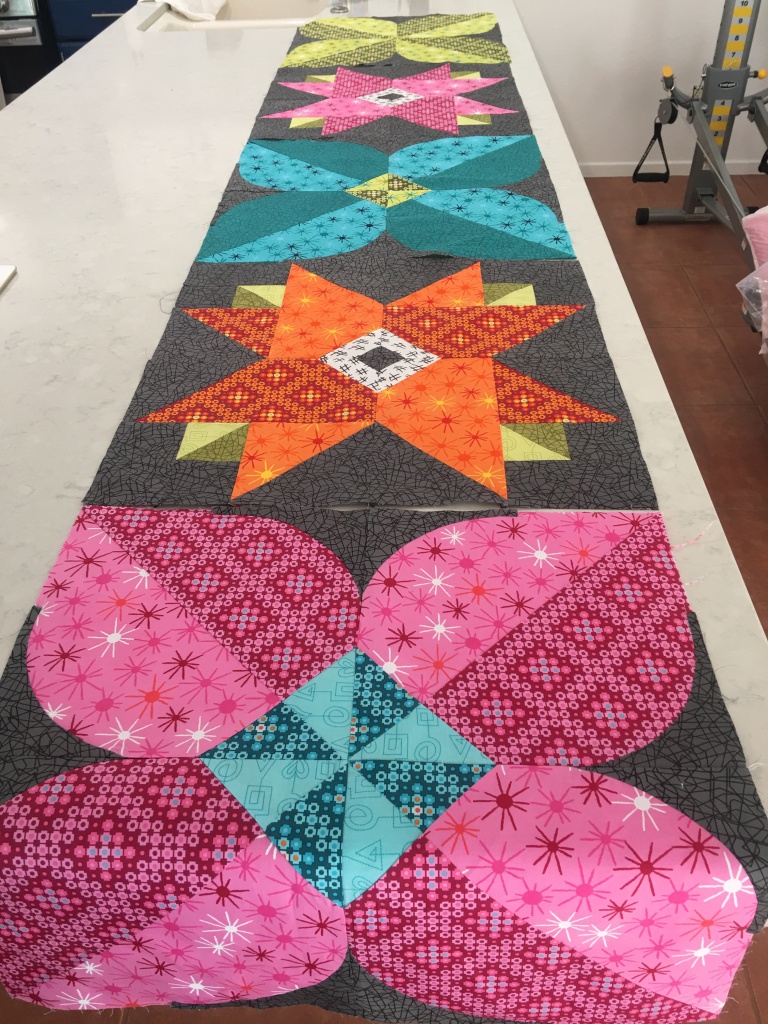
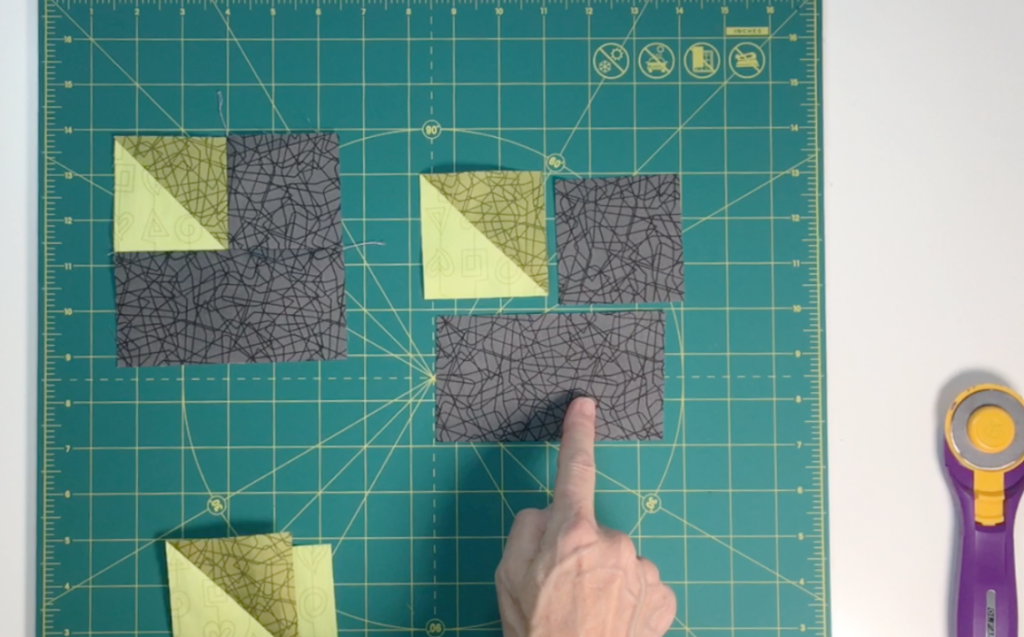
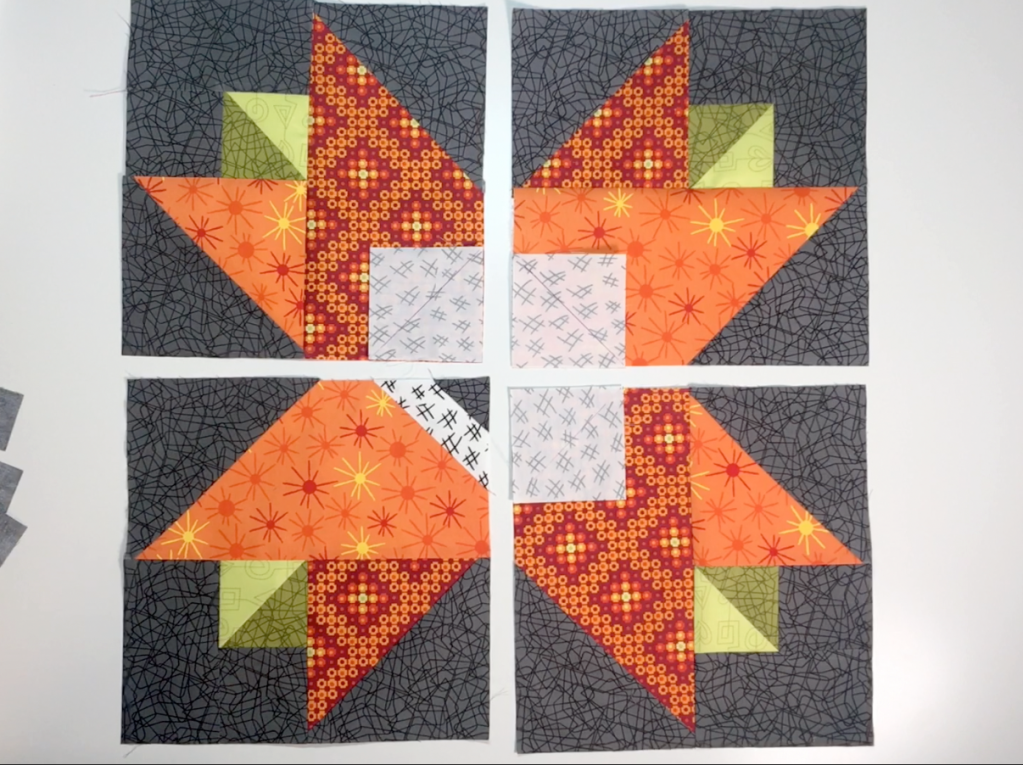
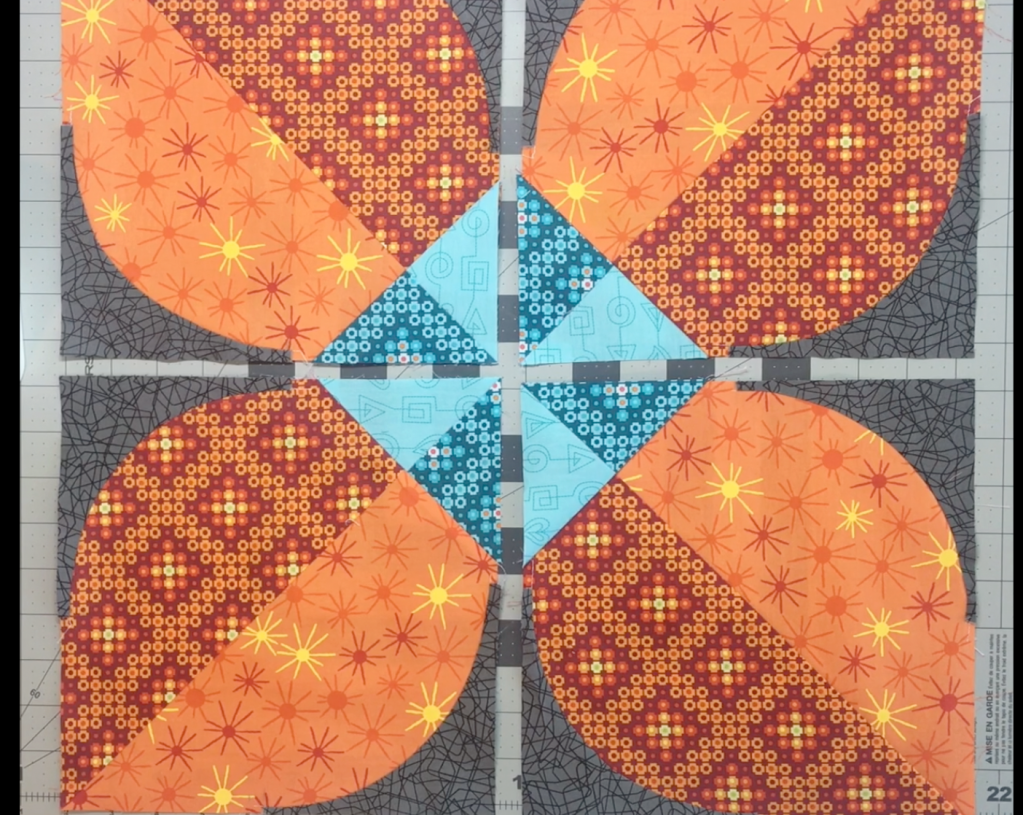
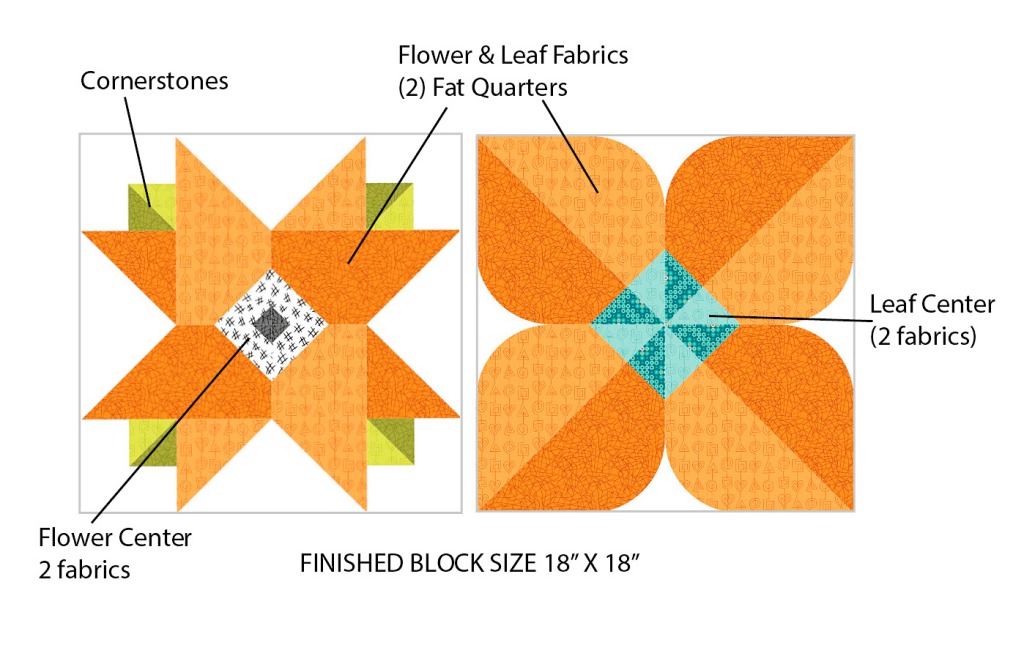
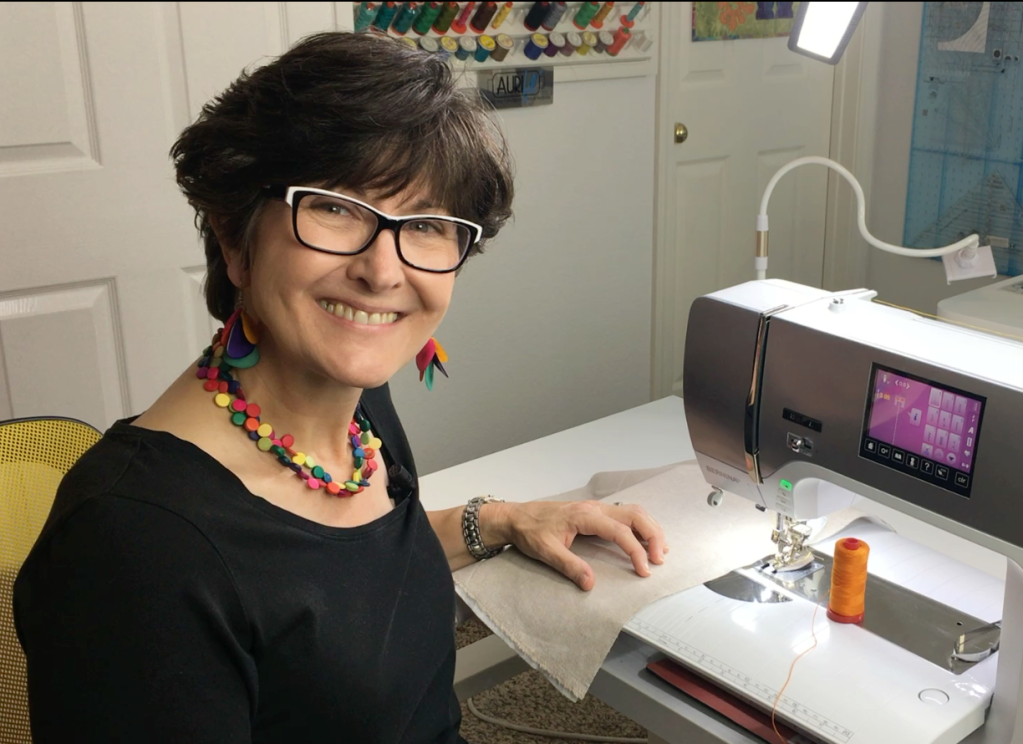
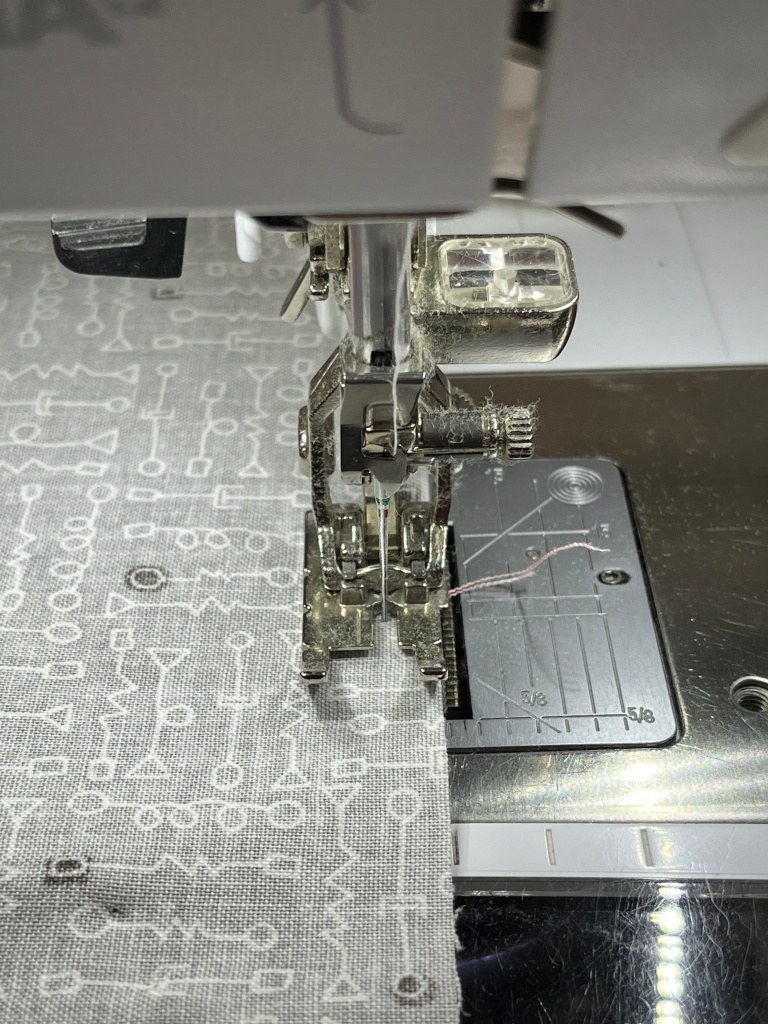
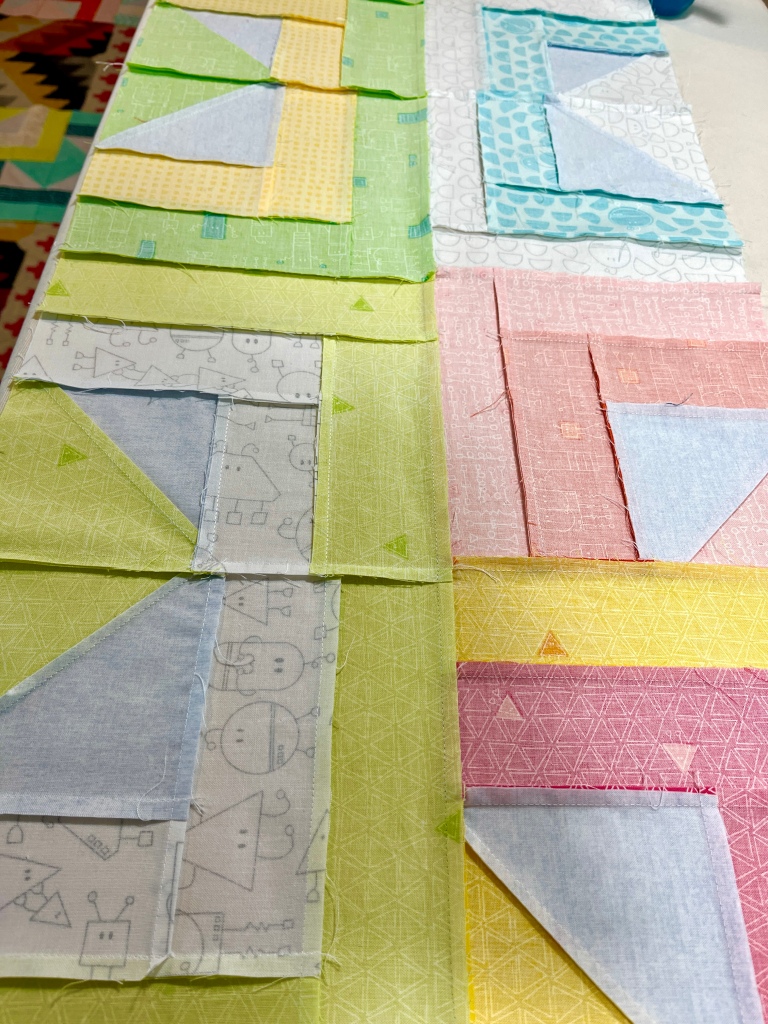
Then I got my scant 1/4″ sewing mojo going and started to piece the blocks. It was a piecing party with just me and my trusty BERNINA. This is the truly satisfying part about patterns like this – once the fabrics are paired, each pairing of fabrics is pieced in the exact same way to create (3) identical blocks – but take note that one of the blocks’ seams should be pressed in the opposite direction from the other two blocks.
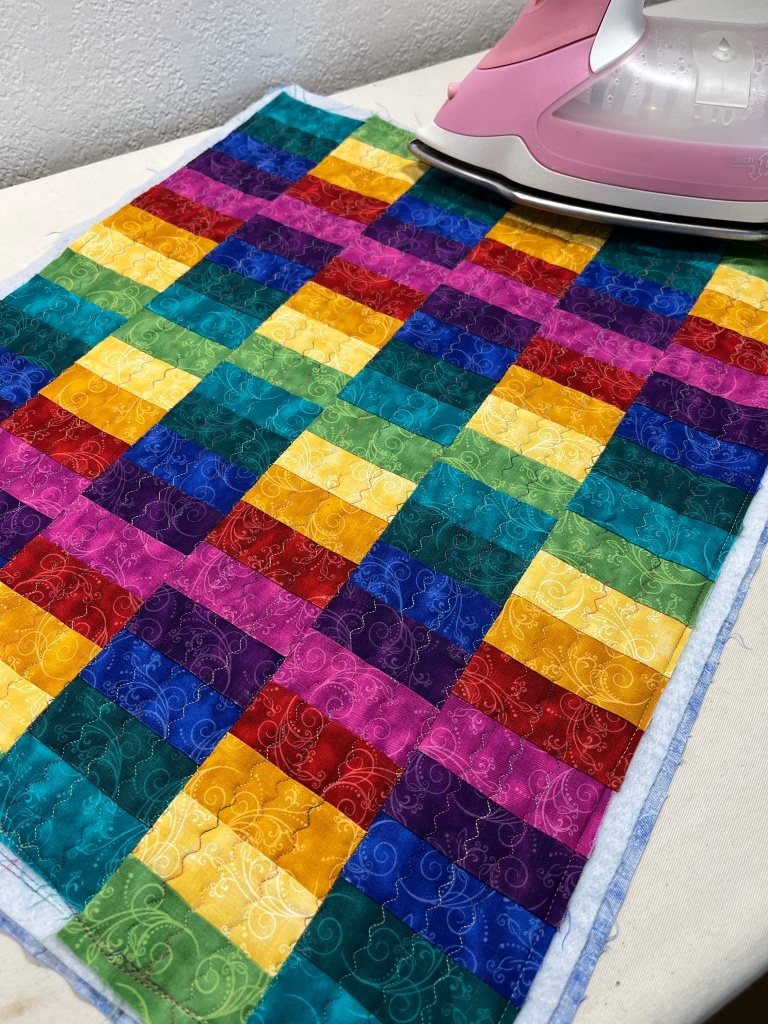
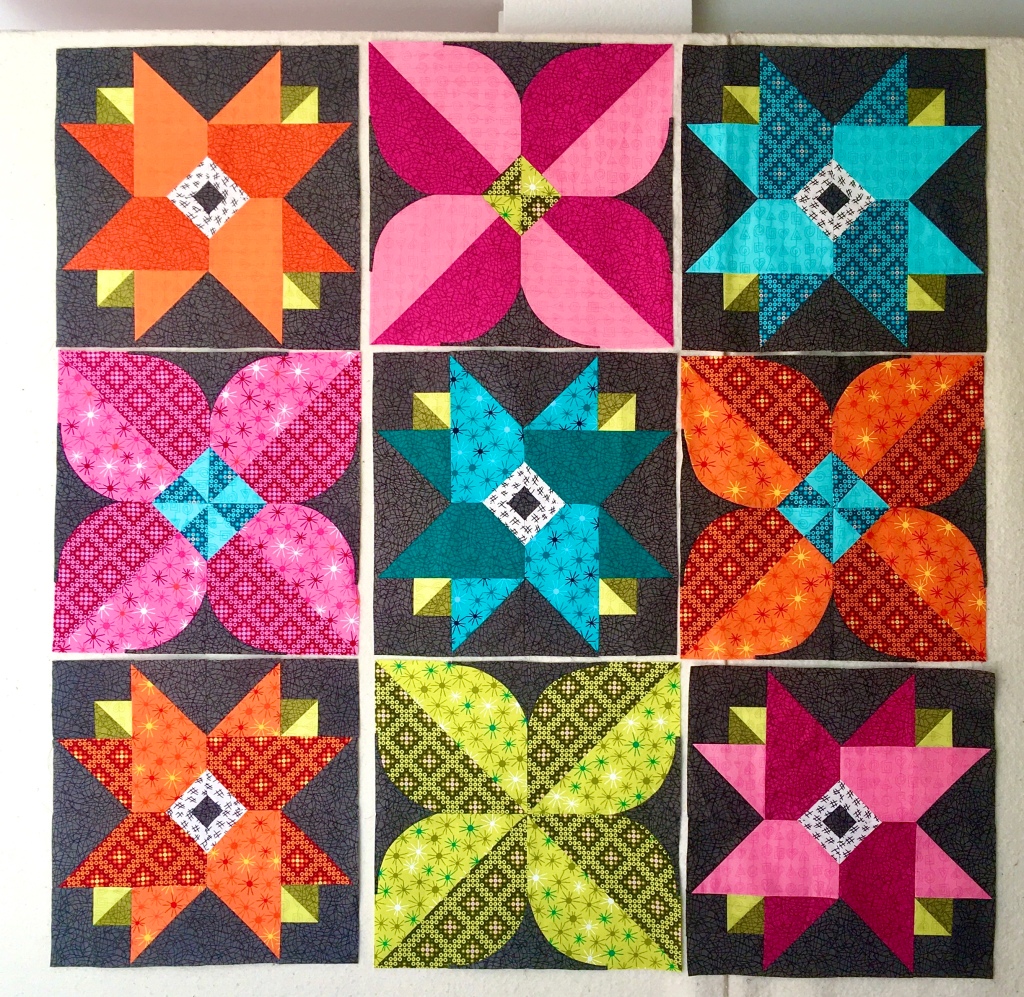
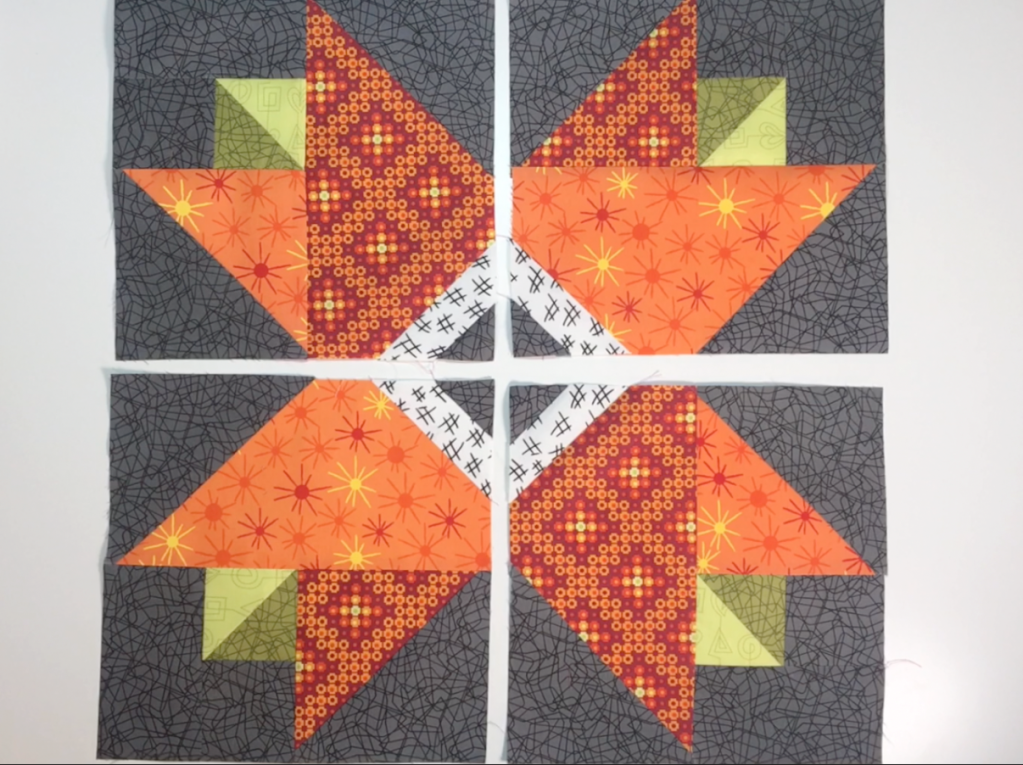
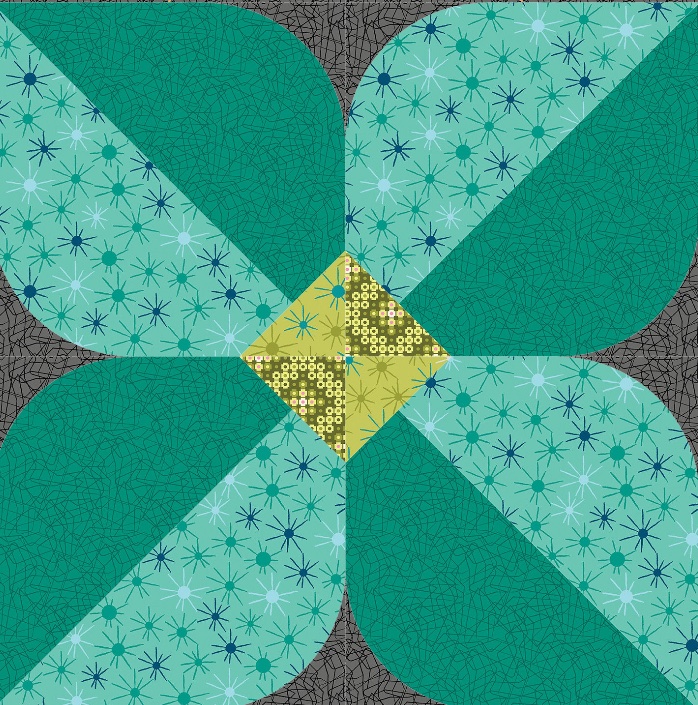
Check out the variety of combinations and blocks that I made – I love the fabrics as the colors are bright and happy and the robot designs are just oh-so-cute!!
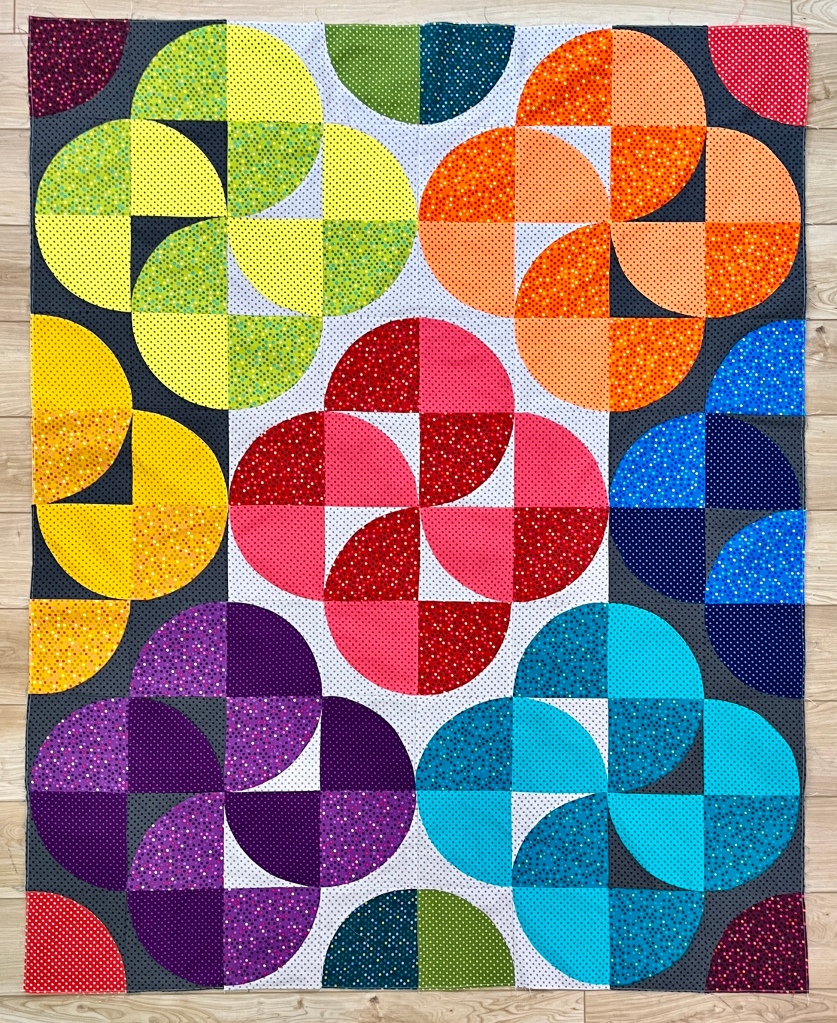
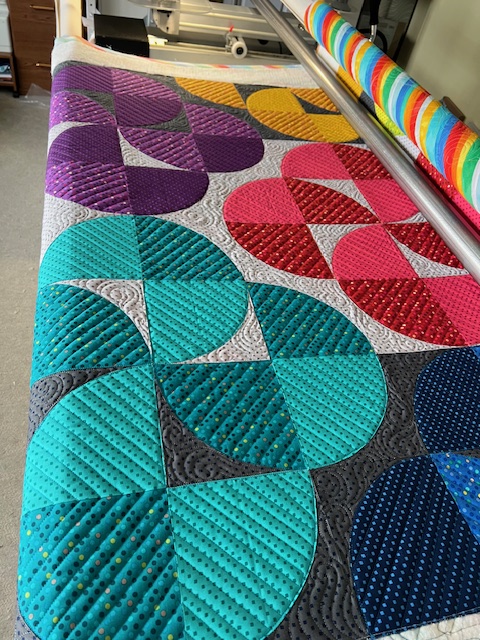
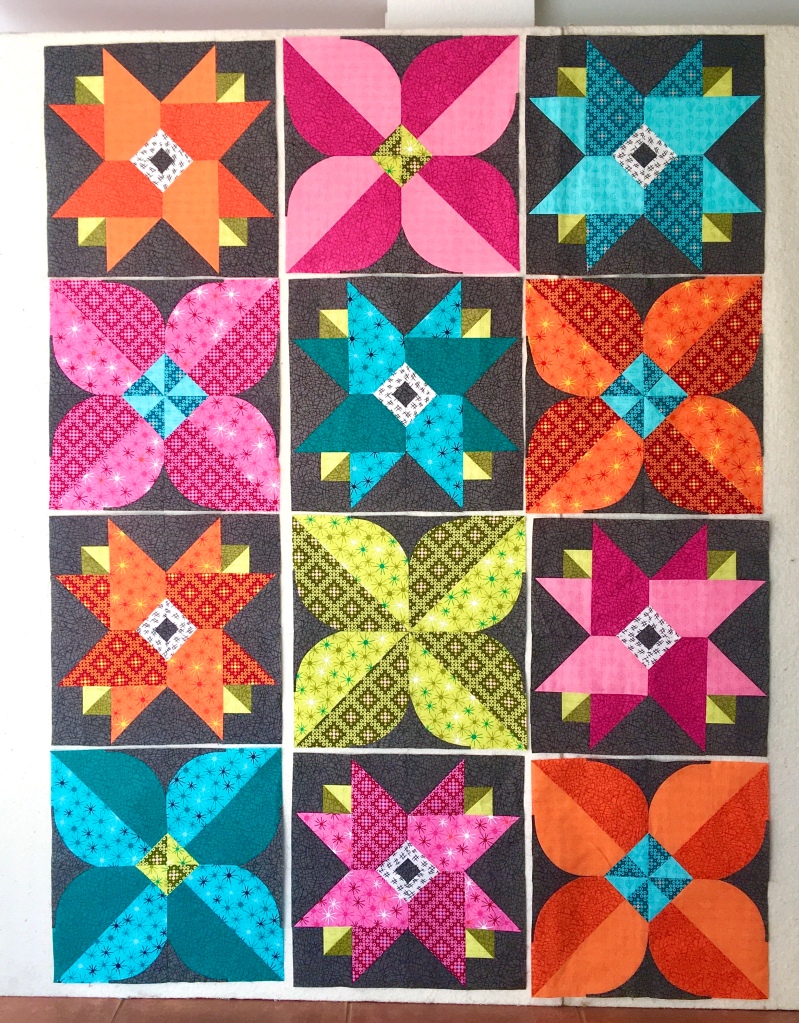
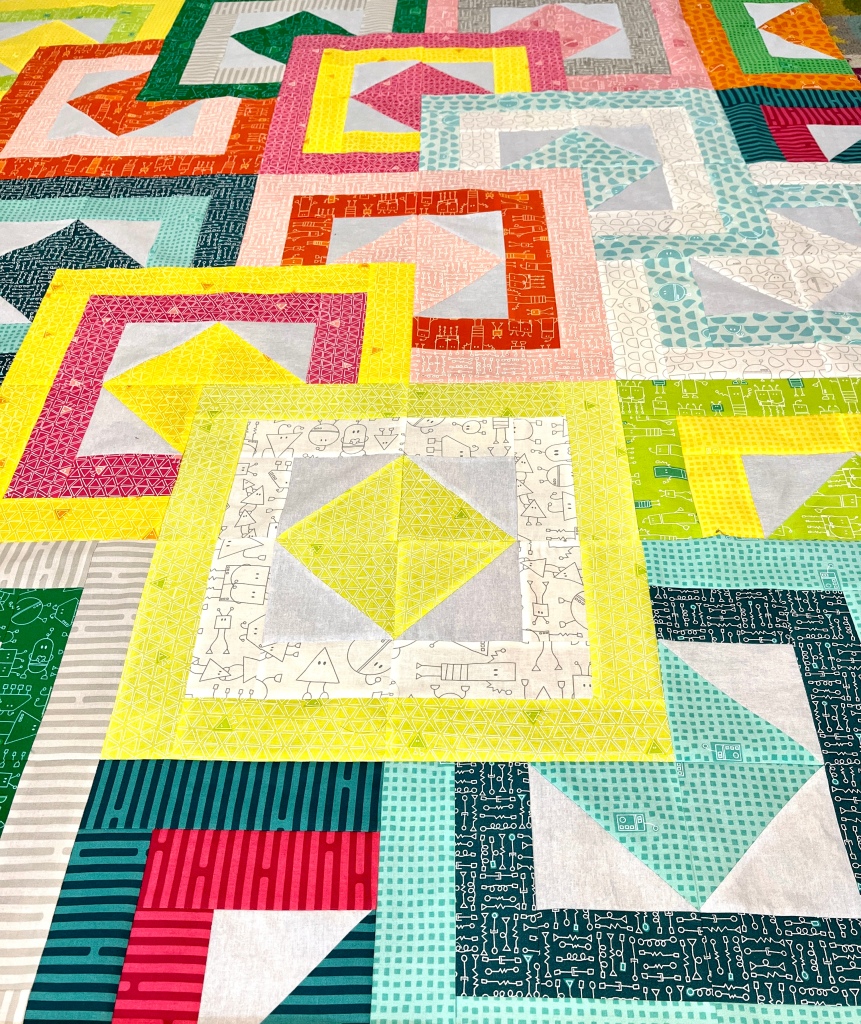
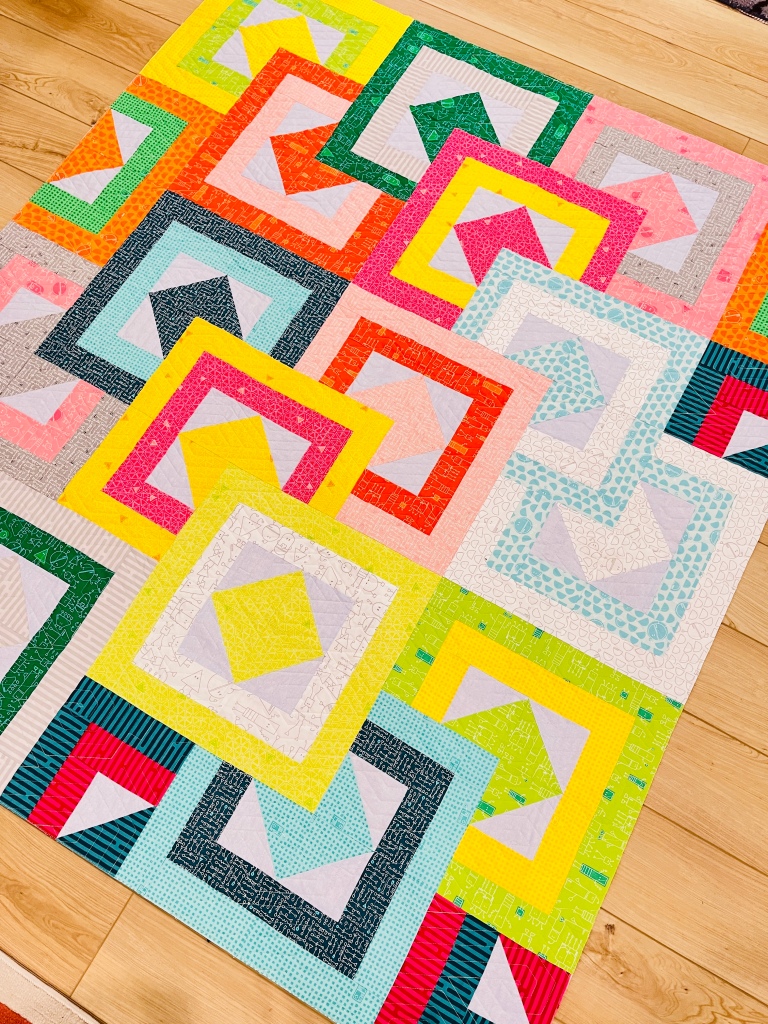
Once all the blocks were made, I was ready to start laying out the blocks according to the diagrams in our ‘All Stacked Up’ pattern and start to stitch blocks together to form rows – and then rows together to complete the quilt top. Yay! Almost complete!~

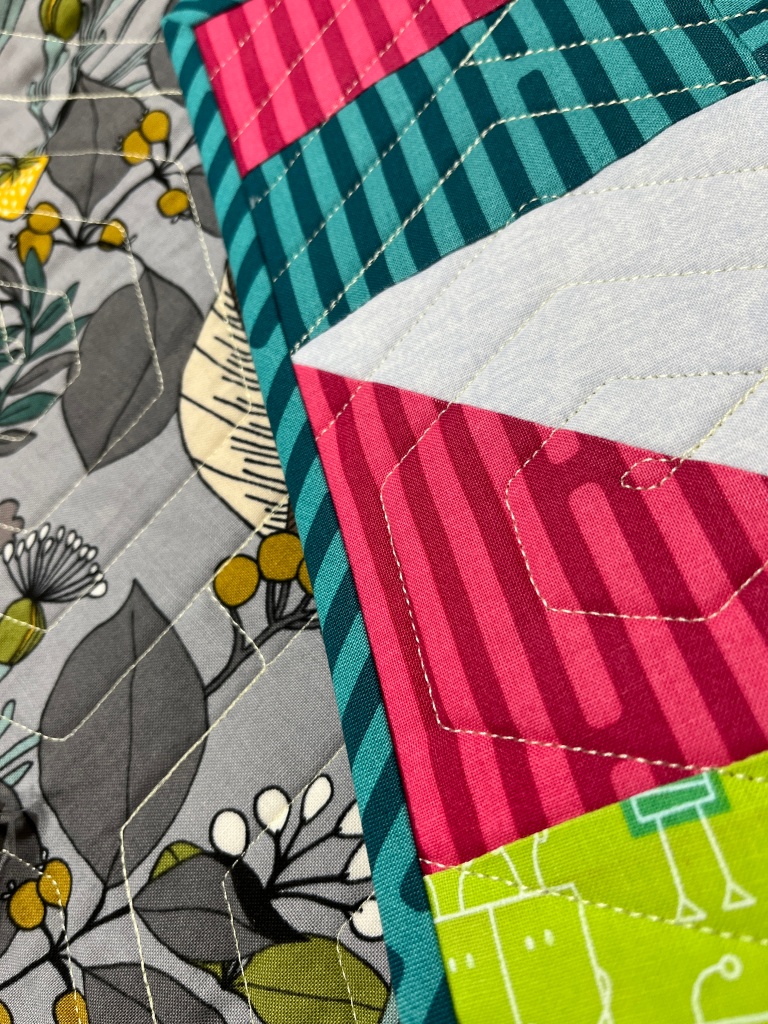
Once the top was completed, I choose a backing fabric. What do you think? This is an Alexander Henry piece from the “Ghastleys” fabric collection. I thought it complimented the fabrics well!

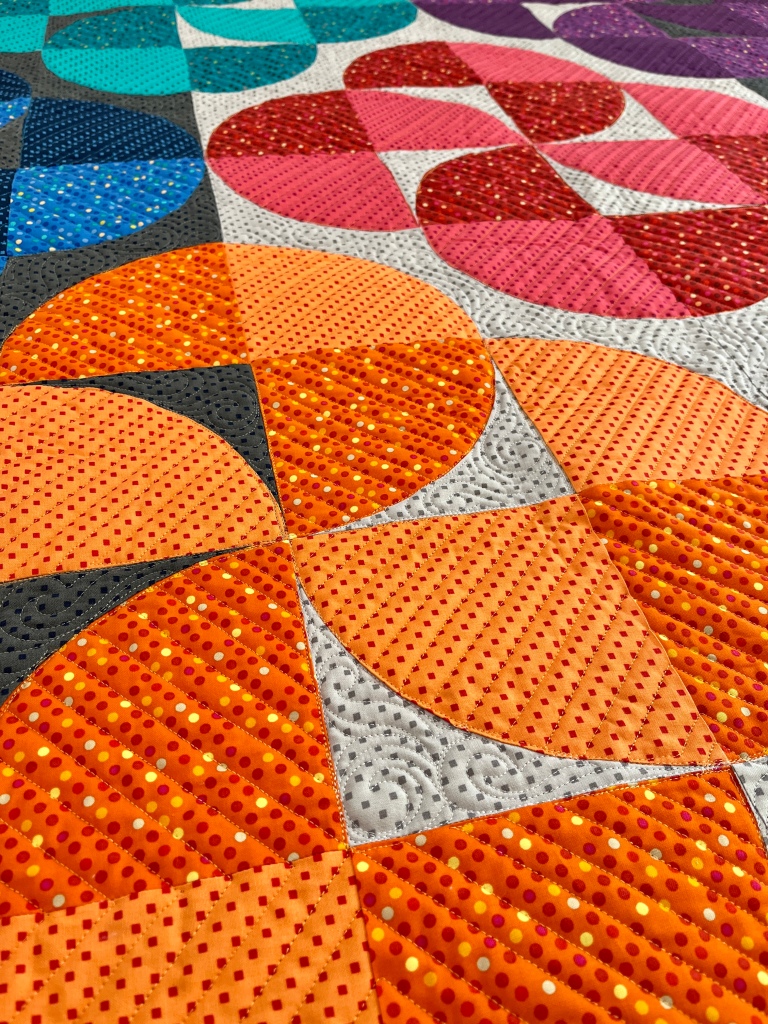
Next it was Teresa’s – at Quilting is my Bliss – turn to do her magic machine quilting. She always does such a wonderful job with all of our quilts and this time was no exception. She chose a fabulously modern edge to edge pattern and quilted the top with a light lemon yellow colored thread. Perfection!

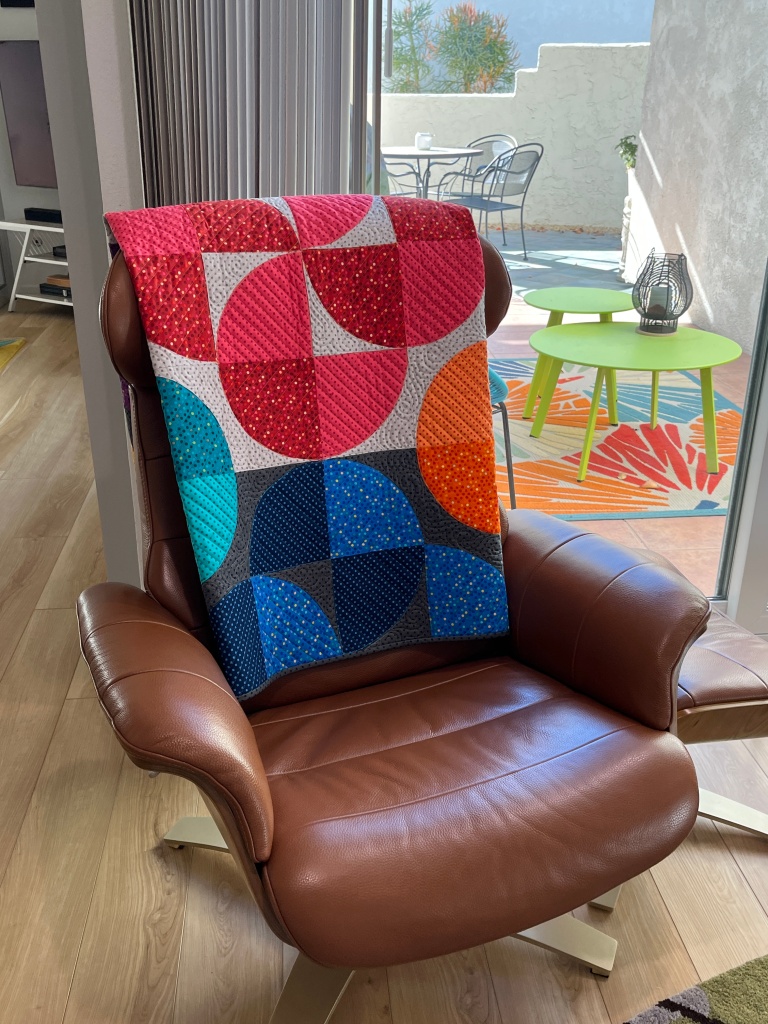
For the binding, I chose to use the teal colored stripe from the collection and cut it on the 45 degree bias so the stripe ‘candy-caned’ down the edges of the quilt. I alway stitch my binding on by machine through the whole process – no hand stitching here! If you’d like to learn my fast method of stitching binding on by machine, I have a tutorial that you can view right here!


Voila! All done…..All in all, it was super fun quilt to make for my for my first ambassador project!

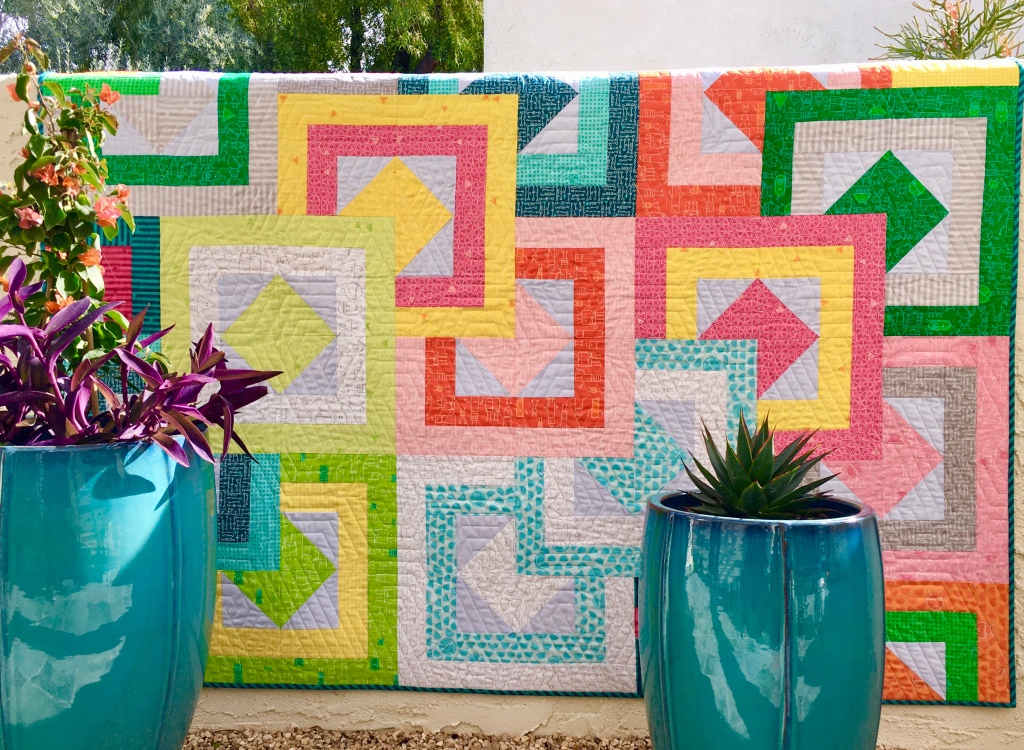

If you’d like to make one of your very own, we currently have ‘Robo Boogie’ fat quarter bundles available in our Colourwerx shop. To make this Small Lap Size (57″ x 65″) you’ll need just one fat quarter bundle with 20 FQ’s, 3/4 yard of a neutral background fabric and the All Stacked Up pattern.
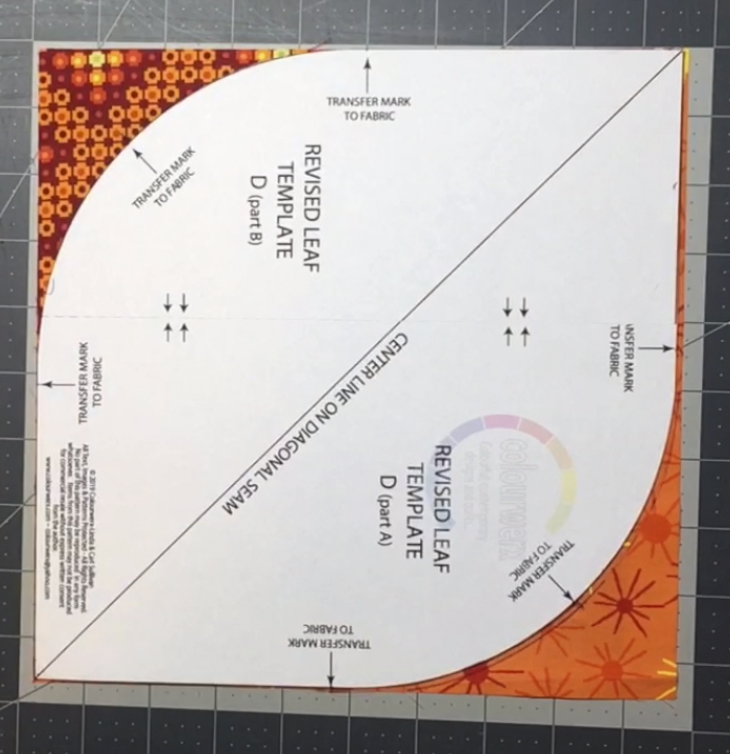
Now I’m looking forward to my 2nd Quarter Ambassador project where I’ll be getting wonky and curvy in the same quilt! Thanks for following along and until our next colour fix! xoxo. Linda